Print (Spooler)
You can print documents by clicking on  Print (Spooler) in the Ribbon of a detail mask or the Document context menu (right-click to open) under r Output, or from the context menus or detail masks of linked Articles, Projects or Folders.
You can also print multiple documents at the same time by right-clicking and choosing Print (Spooler) for the multiple selection in a document result list.

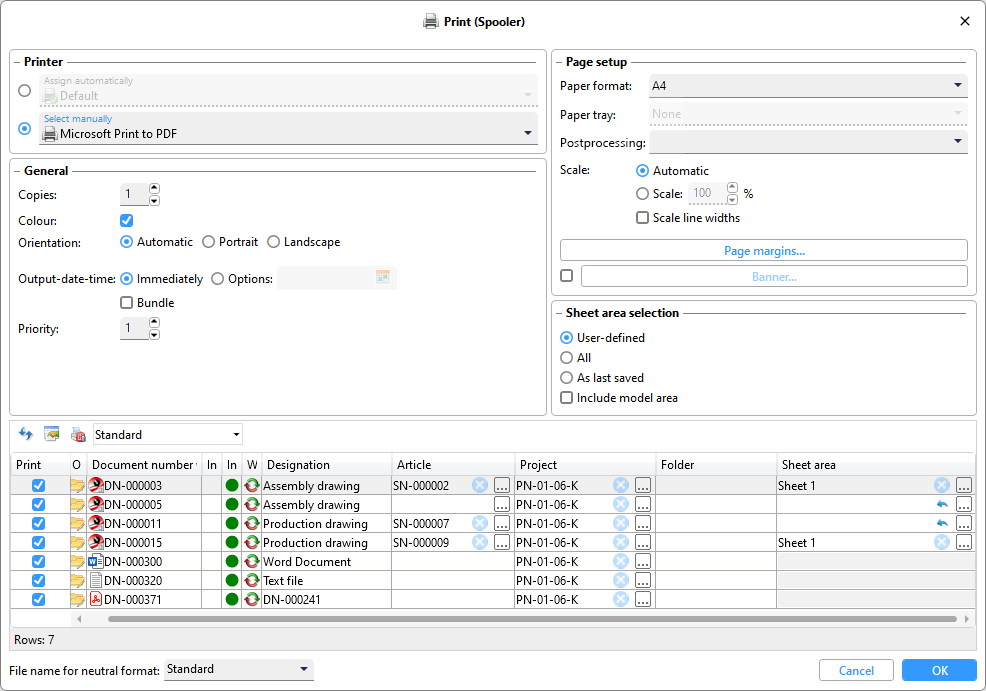
The extended dialogue window for printing opens for the corresponding document:
![]() Please note:
Please note:
-
The HELiOS Spooler must be started in the Services before you can execute the print dialogue.
-
The behaviour of the dialogue depends on the settings specified at HELiOS Options > Print / Convert > Print documents (Spooler).
-
If you are working with notes documents, please also note the setting options for the print behaviour of documents with created or accepted notes documents at HELiOS Options > Print / Convert.

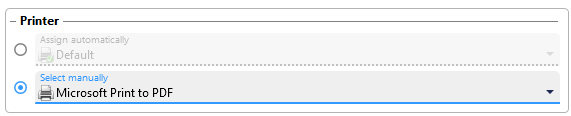
Printer
Under Printer, you can choose between two pull-down menus by activating one of the options:
-
Assign automatically: If this option is active and the selection is set to Default, the default printer of the Spooler server is used (as with the default printer in Windows).
You can also select ISD FilePrinter PS here if the current print job is to be output as a PostScript file.
-
Select manually: Here you can see a selection of all printers/output devices set up in the system.
You can also use the Windows functionality Microsoft Print to PDF.
Under Page setup you can set a Postprocessing if required.
General
|
Copies |
Here you can increase the number as required if more than one copy of the print job is to be output. |
|
Colour |
If the checkbox is activated, the print job is printed in colour. If it is deactivated, it will be in black and white. |
|
Orientation |
If the Automatic checkbox is activated by default, the corresponding information from the print job will be used. You also have the option of selecting one of the standard orientations Portrait or Landscape for printing instead. |
|
Output-date-time |
By default, the print job is sent Immediately. Or you can activate the Options: checkbox. After clicking on the calendar symbol, which then appears at the edge of the time field, you can change the date and time of the output time in the extended pop-up dialogue. |
|
Bundle |
If you activate this checkbox, any series of print jobs sent by your client will be sent and processed in a group without "mixing" with print jobs from other clients. |
|
Priority |
You can increase or decrease the priority of the print job compared to others and thus influence the job processing order by changing the number in the selection field. The lowest number (in this case 1) means the highest priority. Increasing the number reduces the priority of the current print job compared to others. |
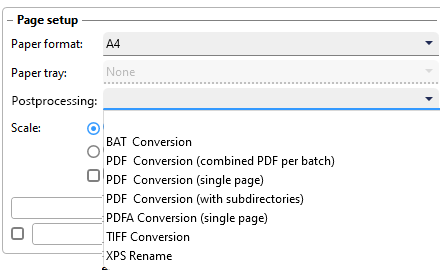
Page setup
In the Paper format and Paper tray fields you can make a selection that depends on the output type selected under Printer.
A Postprocessing can be set if the setting Select manually: ISD FilePrinter PS or Select manually: Microsoft Print to PDF has been specified under Printer.
You can define a configuration here in the pull-down selection as to how the PostScript output to another file format (e.g. as BAT batch conversion or in various options as PDF) is regulated.
The corresponding system files for the respective format output are located in the \ISDFilePrinterSettings\ directory of the Spooler installation and have the extension ".PostProcess" (e.g. "ISD FilePrinter PS.PDF.PostProcess" for PDF).
Here you may need to adjust the information on output paths and existing PostScript version to your individual system environment.
Only PS output configurations that have been activated accordingly in the respective PostProcess file are offered in the selection field.
For scaling, you can change the checkbox from Automatic to Scale to set a change in per cent instead of automatically adopting information from the print job.
The optional Scale line widths checkbox also affects the display of HiCAD line thicknesses when scaling.
Page margins
Clicking on the Page margins... button opens an extended dialogue:
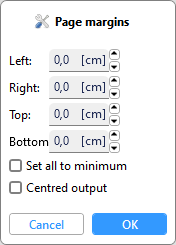
In the Left, Right, Top and Bottom selection boxes, you can make changes to the four margins in centimetres if necessary.
If you activate the Set all to minimum checkbox, you can no longer set the page margins individually. The printable area of the selected output device will be adopted. If it is not activated, you can set the width of the page margins.
Activate the Centred output checkbox if you want to place the drawing in the centre of the printable area.
Banner
For print jobs from HiCAD files, you can also output a banner by activating the checkbox to the left of the Banner... button.

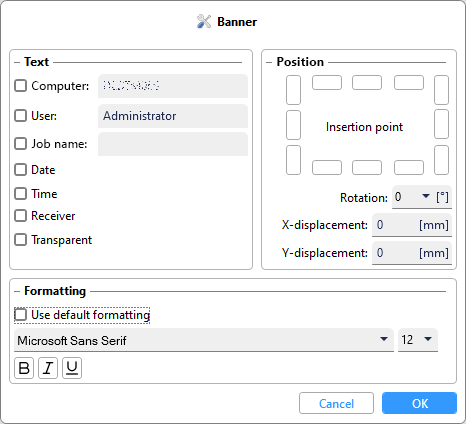
After clicking on Banner... the extended dialogue opens:
|
Banner |
|
|---|---|
|
Text |
Under Text, you can select the information to be included in the text field by selecting the corresponding checkboxes. The Job name can be freely selected in the input field next to it, information on the Computer and logged-in User (from the sender of the print job), Date and Time are automatically determined and set. The Receiver corresponds to the output device of the print job selected under Printer If you activate the Transparent checkbox, the banner is inserted with a transparent background. |
|
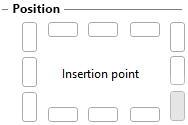
Position |
Here you can select an Insertion point in the sheet for the banner. If you have selected a position by clicking on it, it will be highlighted in grey.
Below this, you can select a banner rotation (in degrees) in the Rotation pull-down menu and make a free entry (in mm) in the input fields for X-displacement and Y-displacement. These entries are relative to the Insertion point. The reference point is on the far left of the base line of the text. (This results in a rotation of +90° for the three insertion points on the right-hand side and a rotation of -90° for the three insertion points on the left-hand edge). |
|
Formatting |
In this area you can make advanced settings for text formatting. Activate the Use default formatting checkbox to output the banner in the HiCAD default formatting. If the checkbox is not activated, you can select a font from the pull-down menu, set a font size next to it and format the text below it in bold (B), italic (I) or underlined (U). |
Sheet area selection
Under Sheet area selection, you can set a selection for CAD drawings, which is then applied to all corresponding documents in the print job.
-
User-defined: Leave this checkbox activated (default) if you want to select different sheet areas for different documents.
-
All: All sheet areas are selected for the printout for all corresponding CAD documents.
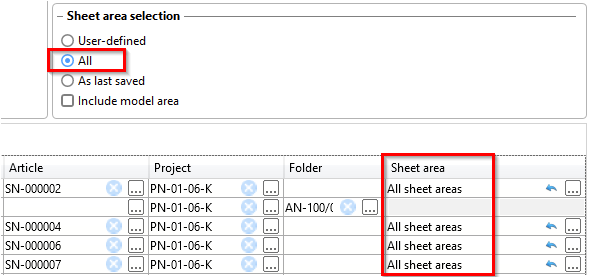
It is possible to make subsequent changes to individual rows in the document result list (see below) in the Sheet area column using the ... icon. The selection of all sheet areas is retained for all others.
-
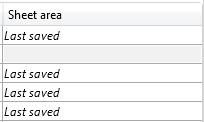
As last saved: For all corresponding HiCAD documents, the selection of sheet areas is "fixed" to the last saved sheet area(s).
-
The additional option Include model area is relevant if you are working with a CAD system (such as HiCAD or AutoCAD) that makes a distinction between model area and drawing area. If the option is not active, all sheet areas of the drawing are transferred when the print job is transferred If it is activated, the model area is also transferred.
Overview of documents
In the lower part of the dialogue window, you will see a list of all documents transferred to the print job in the typical HELiOS result list view.

As with regular result lists, you can click on the  icon in the print dialogue to add or remove columns to the list and save the configuration for reuse.
In the Print column, you can subtract individual documents from the print job by deactivating the checkbox before sending it by clicking OK.
If the Projector Folder assignment of the document is ambiguous, a selection must be made in the corresponding column (a project or folder-independent printout is possible). Unique article, project or folder contexts are always set by default.
If you start printing from a unique context, such as a specific Project, the corresponding column is pre-assigned with this project. If the project or folder assignment is hidden, the print job is independent of the project or folder. In general, the information in hidden columns is excluded from the print job.
Under Article, a linked article or, if necessary, a multiple selection of articles can be made for the print job.
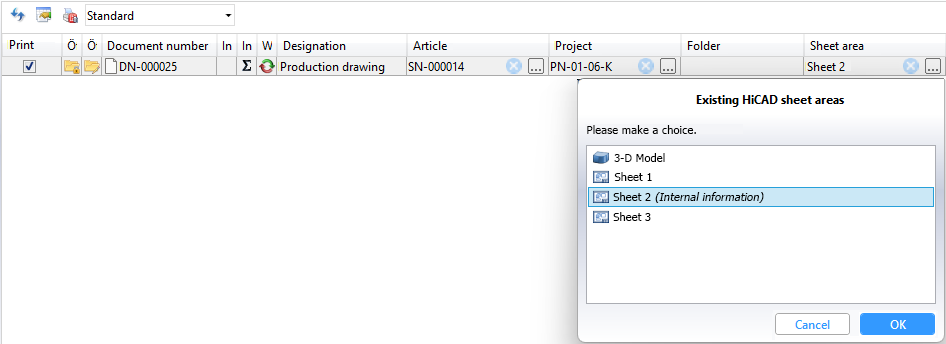
For HiCAD documents (SZA files), you may have to make a selection of one (or more) sheet area(s) before printing.
Please also remember the notes on Sheet area selection (see above).
For a single selection in the results list area, click on ... in the Sheet area column. and a corresponding selection dialogue will appear.
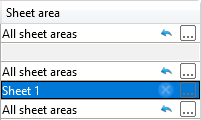
Multiple selection of sheet areas of several documents in the Print (Spooler) dialogue window is possible by selecting and clicking on ... in the Sheet area column.
When selecting the sheet areas, a "union" of all available sheets (in ascending order by Sheet number) is displayed. The selection of sheet 1 then prints sheet 1 of each (marked) document, for example.
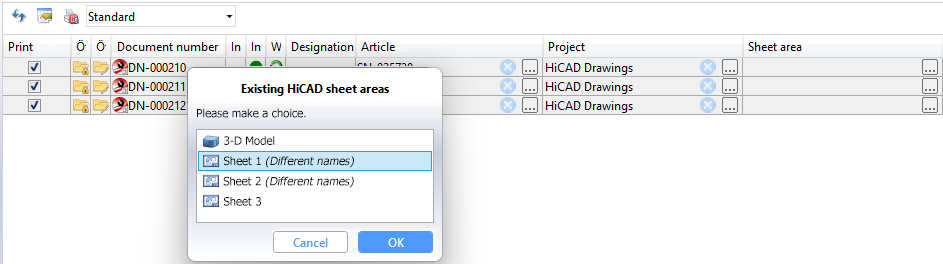
If you select sheets that are not available for all selected documents, a message will appear and the corresponding sheets will be deselected for printing.
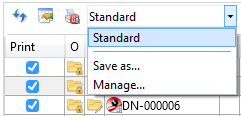
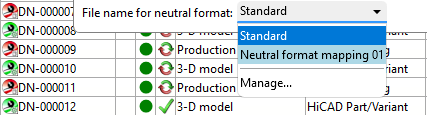
At the bottom of the Print (Spooler) dialogue window, you can select Manage... from the list box next to File name for neutral format to call up an extended dialogue for file name generation via attribute assignment.
Confirm the print job with OK.
If the print job is successfully sent, the window is closed immediately.
Errors that prevent printing and are recognised by HELiOS are displayed below the result list when you click OK.
Double-clicking on an error line also marks the corresponding document in the result list above it.
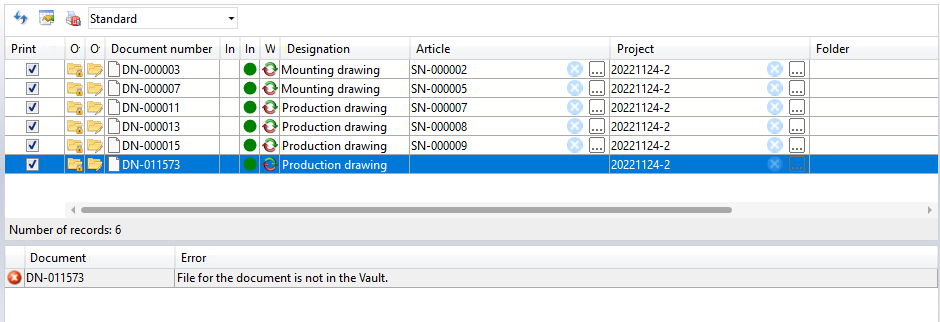
Example: If the dialogue returns the error description "File for the document is not in the Vault", it is recommended to load the document once into the workspace.
Similar to exporting a file, the system also checks whether the documents to be printed have local changes. If this is the case, a warning is issued for the respective document, as in this case it is not the locally changed version that would be printed, but the version that is known to HELiOS.

You can decide whether you want to Cancel or print the documents with OK regardless of the local changes.
