 Group frame, which only visually delineates an area around elements in a mask, elements in a
  Group box are actually grouped together and subordinated to it.
Project: HELiOS
Unlike the Group frame, which only visually delineates an area around elements in a mask, elements in a Group box are actually grouped together and subordinated to it.
You create a group box by clicking Insert new group box in the Insert control function group of theMask Editor Ribbon.
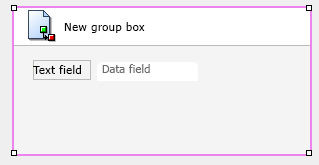
A group box is then added to the open mask, which you can move around in the mask and adjust in its dimensions as desired using dragging.
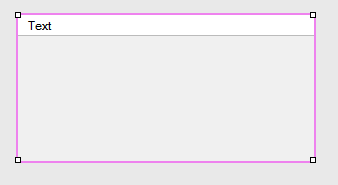
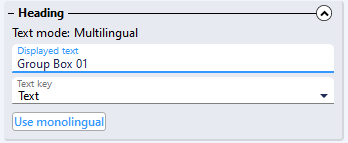
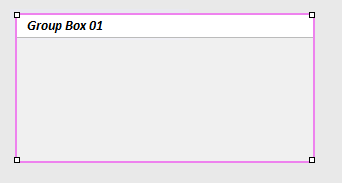
You can change the heading of the group box (default: "Text") in the Properties Window for the active element under Heading.
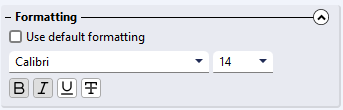
If you deactivate the Use default formatting checkbox above it under Formatting, you can also assign different formats to the text, such as bold and italic, also strikethrough, assign other fonts, change the font size, and so on.
If you click on a button of the Insert control function group, such as  Insert new data field or
  Insert new text field while the group box is active, the new mask element is automatically added to the group box.
You can add icons to group box headings by clicking on  Select image under Element-specific in the Properties window and adding an icon via the image selection.
![]() Please note:
Please note:
The image file must not be larger than 32x32 pixels.
The configuration of the distance (Distance, left and Distance, right under Element-specific in the Properties window) is relevant for small group boxes, i.e. fields in which not all contained elements are (completely) visible, which is why in this case scrollbars are displayed within the field.

You can influence the distance to the left or to the top by placing the elements within the group box. However, if the group box does not use scrollbars, this distance value will not be evaluated further.
If the group box is later moved again within the mask, it will be moved together with all its associated elements. This is one of the main differences to the group box, where all elements would have to be marked as well, if the display within the box is to be preserved after moving.
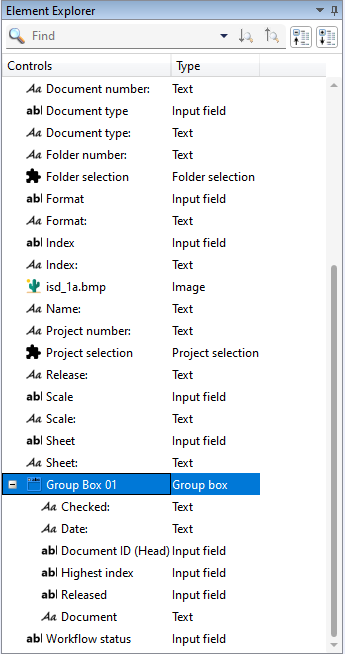
In the Element Explorer, the elements of a group box are displayed hierarchically subordinate. In this context, please also read the notes on tab order.
![]() Please note:
Please note:
You can also create group boxes by selecting elements already present in the mask and then choosing Insert new group box. In this case, a group box is created that contains the previously selected objects as subordinate group box elements.
The size of the newly inserted group box is determined by the space of the previously selected mask objects. The group box is only automatically enlarged if it falls below a reasonable minimum size. This is to prevent collisions with other mask objects. You may have to adjust the dimensions again manually.
If there is not enough space in the mask to place the group box, or elements have been selected for grouping, between which there are also mask elements that are not yet selected, the group box (complete with its content) is placed at a free position in the mask or the mask is enlarged for this purpose.
Objects can also be moved by Drag & Drop from another place of the mask into a group box.
If you perform the insertion of a mask element for a clearly marked group box, this element will be inserted directly into the group box.
Group boxes themselves cannot be "nested" inside each other. If you try, you will get an error message.
Group boxes can be assigned background colours and transparency on an element-specific basis to further set them apart visually in the context of their mask.
With the function Insert control >  Convert to group box you can convert a (purely visual) group frame into a group box. To do this, you must first select a group frame with a mouse click and then select Convert to group box. After that, all elements within the previous group box will be combined into an actual group boxt.


|
© Copyright 1994-2021, ISD Software und Systeme GmbH |
Data protection • Terms and Conditions • Cookies • Contact • Legal notes and Disclaimer