Plant Engineering >Pipeline Tools > Coll... > Close gaps
Topics:
Usage
When exchanging parts or after automatically placing parts on guidelines there may remain gaps in a pipeline. However, the pipeline route has to be continuous at the latest when an isometry drawing should be created. Other features also rely on a continuous pipeline route, e.g. the Divide pipeline function.
The Close gaps function highlights the gaps on the route of a selected pipeline and offers you to close these.
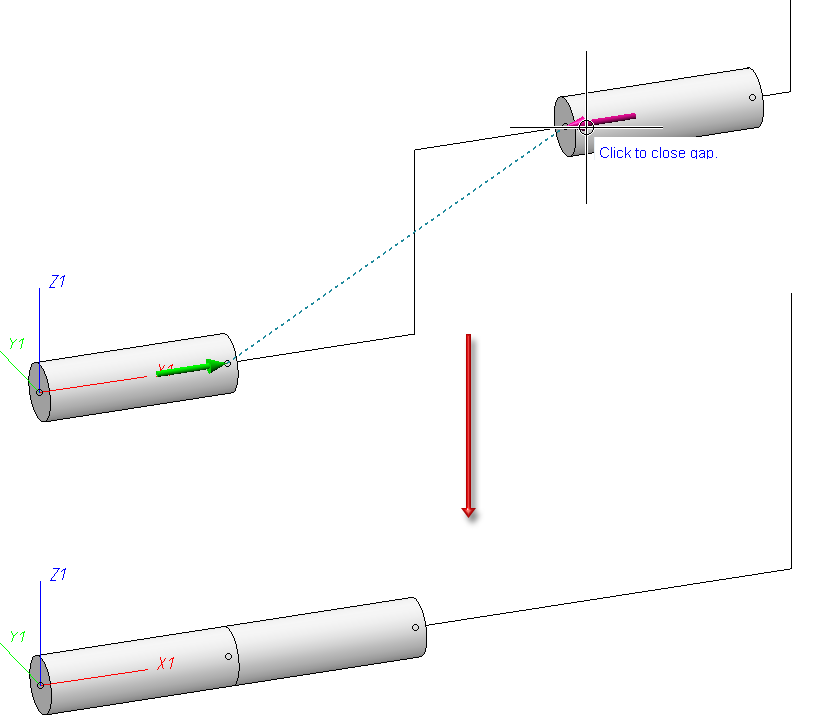
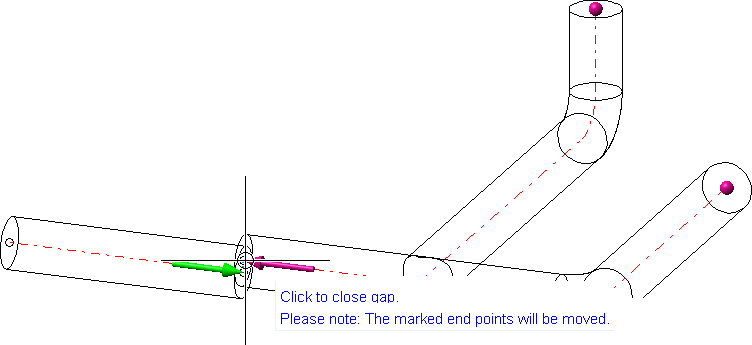
In the displayed pipeline there is a little gap between the elbows. This is highlighted by the arrows.

If you move the cursor over the arrows a text will appear which suggests that gaps can be closed by clicking on them.
The results of closing gaps can vary, depending on the arrows you choose. Only the side of the selected arrow will be modified.
As soon as the cursor touches the arrow, HiCAD calculates in which way the gap can be closed. Two options are usually tested:
- At first it tries closing the gap without moving the pipeline's end points.
- If option 1 is not possible, it will try to close the gap by changing the position of the end points.
In the example above the gap can only be closed by moving the end points. The reason for that is that the pipeline does not have straight sections that could be lengthened or run in the direction of the gap.
In such a case the affected end points will be highlighted. In addition to that, a text will appear next to the gap: Please note: The marked end points will be moved. You will thus be informed about changing end points even if they lie outside of the active screen display.
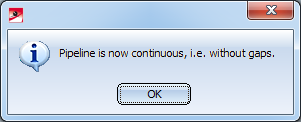
If you click on the highlighted arrows in the example above, the pipeline will be modified. In case there are more gaps in the pipeline, they will be marked and offered for selection. If there are no further gaps the following message will appear:
Close the function by clicking on OK. Alternatively, you can end the function with ESC or the middle mouse button, or via the context menu (right-click). This preserves all open gaps.
An example with a bigger gap.

(1) Arrows which belong together are connected with a dotted line. (2) Result of closing gaps.
A similar example, but the end point remains the same.

Start and Options
After selecting the function you will be prompted to select a pipeline. At this point you have the option to activate the context menu by right-clicking.
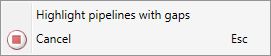
The Highlight pipelines with gaps function triggers the examination of the entire drawing for discontiguous pipelines. Please note that this examination could take some time for bigger drawings. The progress will be displayed in the status bar. Eventually, all pipelines with gaps will be marked.
Only the highlighted pipeline can be selected. r.
If no pipelines with gaps could be found, the following message will appear:
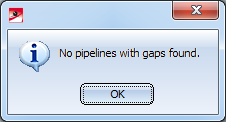
By clicking on OK the function will be closed.
After selecting a pipeline with gaps, the gaps will be marked and HiCAD prompts you to select the gap you want to close. You can then activate the displayed context menu with further options by right-clicking.
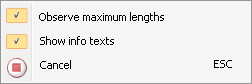
- Observe / ignore maximum lengths (analogous to the option with the same name in Change route)
A maximum length can be set for the pipes. If the maximum length shall be ignored, deactivate the Observe maximum length option. This option can be useful if it is more important that the end points will not be moved rather than the length of the pipe being too long. By re-opening the context menu this option can be activated / deactivated again.

- Show / hide info texts
If you find the info texts disruptive, e.g. if they overlay point markers, you can hide them by deactivating this option. By re-opening the context menu this option can be activated / deactivated again.

- Cancel
Exits the function.
Further Information
Inserted pipe lengths
An inserted pipe length will be treated as if its parts belong to the pipeline in which it is inserted. The marked end points in the image show this.
Problem cases
The Close gaps function works according to the following principles:
- Find the continuous sections of a pipeline.
- Search for the empty, free connecting point in between these parts which lie closest to each other.
- Mark the end points with arrows.
Most of all in defective drawings it can occur that gaps in between marked connecting points cannot be closed.
Example 1: Missing connecting point
At the right arrow in this drawing a pipe is inserted into another one. However, the connecting point of the pipe in which the other is inserted has been deleted:

It searches for the next free connecting point - as can be seen on the left in the image. The Close gaps function now notes that the connecting directions do not match. In this case it is not possible to close the gap.
In the image you can also see that arrows which belong together are connected with a dotted line.
Example 2: Part slightly twisted
Here the flange has mistakenly been placed on the guideline with only the lower point, there therefore exists a small angle between guideline and flange.

In this case the attempt to close the gap fails. A respective info text appears.

Plant Engineering Functions • Create Pipeline • Select Pipeline