3-D Standard > Standard Parts > New bolting 
The dialogue for the fitting of boltings begins as soon as you click OK to end one of the tabs of the Bolting dialogue window.
Now proceed as follows:
|
|
Individual fitting. The bolt is fitted perpendicularly into the processing plane opposite the z-axis. |
|
|
|
Multiple fitting, linearly arranged |
|
|
|
Multiple fitting, linearly arranged between 2 points |
|
|
|
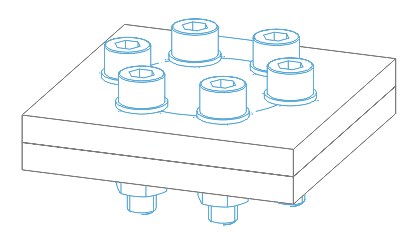
Multiple fitting, arranged circularly in the fitting plane |

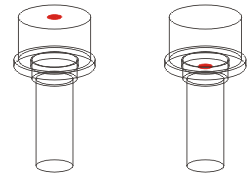
Left: Fitting point for reference plane: Upper edge, Right: Fitting point for reference plane: Countersink

Bolting on a polar grid
 Please note:
|
Notes on DIN EN 14399 The tables for the bolts according to DIN EN 14399 contain a column called SET for the set identification. If a text, e.g. Set, has been entered there, the nut will not be BOM-relevant when inserting a bolting set according to DIN EN 14399. In this case, the set ID in the Article number will be considered, for the BOM e.g. Set EN 14399...... , as otherwise only the bolt would be supplied. If you clear the SET column in the Catalogue Editor, the nuts will be become BOM-relevant as well. |
Related Topics
Create Boltings (3-D) • Boltings (3-D) • Process Standard Parts and Boltings (3-D)
Version 1702 - HiCAD 3-D | Date: 9/2012 | © Copyright 2012, ISD Software und Systeme GmbH