Exchange Beams
- Exchange beams
- Handling of article masters during exchanging of semi-finished products
- Further Exchange functions
Exchange beams
Steel Engineering > Further functions > Exchange 
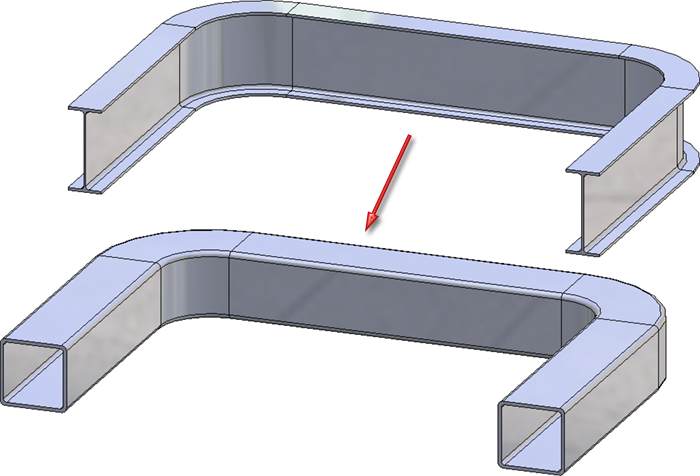
You use this function to replace a fitted beam by any standard, prototype, series or sketch beam.
Procedure:
- Identify the beam to be exchanged. Depending on the function selected, the same dialogue is started as for fitting standard beams, i.e. the selection window for standard beams is displayed.
- Select the replacement beam. Select OK to exit the window.
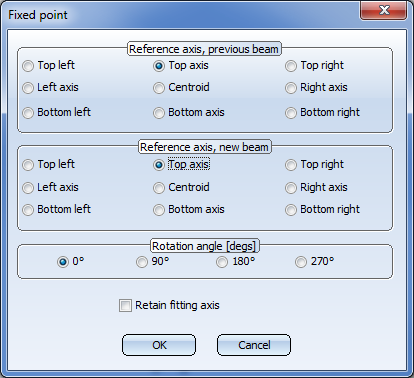
- The Fixed point window is displayed. This window allows you to define a new reference axis for the beam to be replaced and the reference axis of the new beam so as to be able to place the new beam exactly. To rotate the new beam during fitting, you can also define the rotation angle. Make the desired settings.
- Choose OK to exit the window.
The beam is exchanged. All processing that you have carried out on the beam to be replaced is transferred providing it is plausible.
 Important:
Please note that the following settings in the Configuration Editor will be considered during exchanging of Steel Engineering beams:
- System settings > HELiOS > Handling of article master and
- System settings > HELiOS > Taking over of semi-finished product attributes.
![]() Please note:
Please note:
- If you exchange a beam that belongs to a referenced assembly that also occurs in other drawings, the visibility and dimensions will be preserved in the other drawings. (see also Exchange Part).
- The processings that you have carried out on the beam to be replaced will only be transferred if it is plausible. HiCAD automatically performs a plausibility check for this. If a processing step cannot be performed on the new beam, a corresponding message is displayed
- You can use this procedure, in particular, to replace bar elements in draft constructions by the correct beams.
- You can also replace several beams in one step. To do this, specify a relevant part list, i.e. select all beams that you want to be replaced. You can then activate the function via the context menu by right-clicking one of the beams.
- For the selection of a series beam it will suffice to select only a sub-part. The entire beam will be replaced subsequently.
- Beams that have been routed along composite edges can be exchanged. In this case the parameters beneath Reference axis, previous beam in the Fixed point dialogue window will be greyed out.
- Beams can also be exchanged via a double click in the feature log; here, too, the settings in the Configuration Editor for the parameters Handling of article master and Taking over of semi-finished product attributes will be considered.
When exchanging beams, the material of the beam is not changed, provided that the material of the beam to be exchanged is available for the exchanged beam. An example: A drawing contains a type I 80 beam with material S355J0. This beam is to be exchanged for an IPE beam. In this case, the material S355J0 is automatically set when selecting the exchanged beam in the catalogue. If the material for the exchanged beam is not available, the standard material of the exchanged beam is set.

Handling of article masters during exchanging of semi-finished products
The handling of manually assigned article masters during exchanging of semi-finished products can be specified in the Configuration Editor at System settings > HELiOS.

The following setting options for the parameter Handling of article master are available:
- Query
If the semi-finished product to be exchanged has a manually assigned article master, a query will be issued:
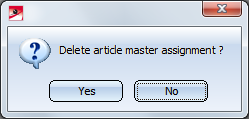
If you choose Yes, the article master of the semi-finished product to be exchanged will be deleted and, if required, replaced with the article master of the semi-finished product to be exchanged. If you choose No, the article master of the semi-finished product to be exchanged will be retained unchanged. This is the default setting.
- Delete
An article master that is manually assigned to the semi-finished product to be exchanged will be deleted without any further query and, if required, replaced with the article master of the semi-finished product to be exchanged. - Retain unchanged
An article master that is manually assigned to the semi-finished product to be exchanged will be retained unchanged in the exchange process. No query will be issued.
At Taking over of semi-finished product attributes you can additionally specify which semi-finished attributes will be assigned to the manually assigned article attributes. The assignment must be defined as follows:
Semi-finished product attribute;Article attribute
Each assignment must be specified in a separate row in the collection, e.g. as follows:
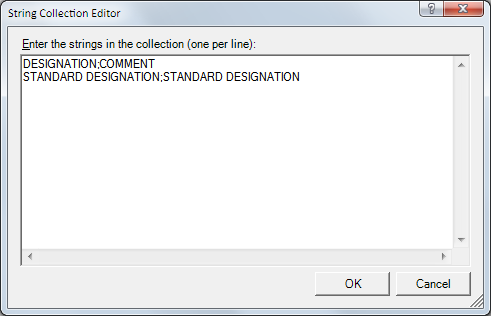
The String Collection Editor is initially empty by default.
| Handling of article master | Collection defined? | Effect |
|---|---|---|
| Retain unchanged | No | The manually assigned attributes will be retained unchanged. |
| Retain unchanged | Yes |
The assignment of the collection will be evaluated, all other manually assigned attributes will be retained. In the case of the collection show above this would mean that:
|
| Delete | No | The manually assigned article attributes are deleted and replaced with the article master of the replaced semi-finished product. The collection will not be evaluated here. |
| Delete | Yes | |
| Query | No |
During exchanging, HiCAD will ask you whether the existing article master is to be deleted or not. If you choose Yes (delete), the manually assigned article attributes will be deleted and replaced with the article master of the replaced semi-finished product. The collection will not be evaluated. If you choose No, the collection (if there is any) will be evaluated. All other manually assigned article attributes will be retained unchanged (see Retain unchanged option). |
| Query | Yes |
Example:
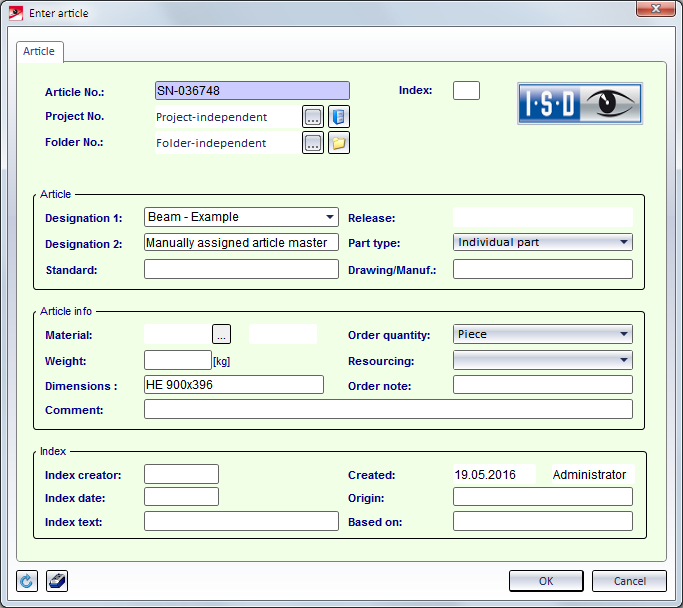
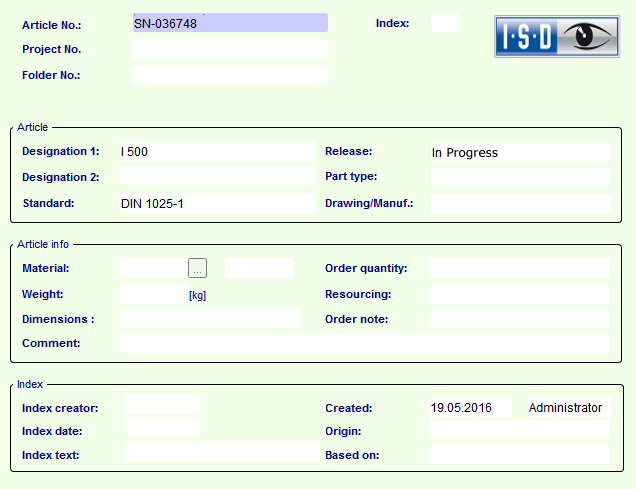
Let us assume that he drawing contains a beam with manually assigned article masters, e.g.
In the I-Beams catalogue, the table I (DIN 1025-1) has been assigned to HELiOS. Semi-finished product attributes are DESIGNATION and STANDARD DESIGNATION.
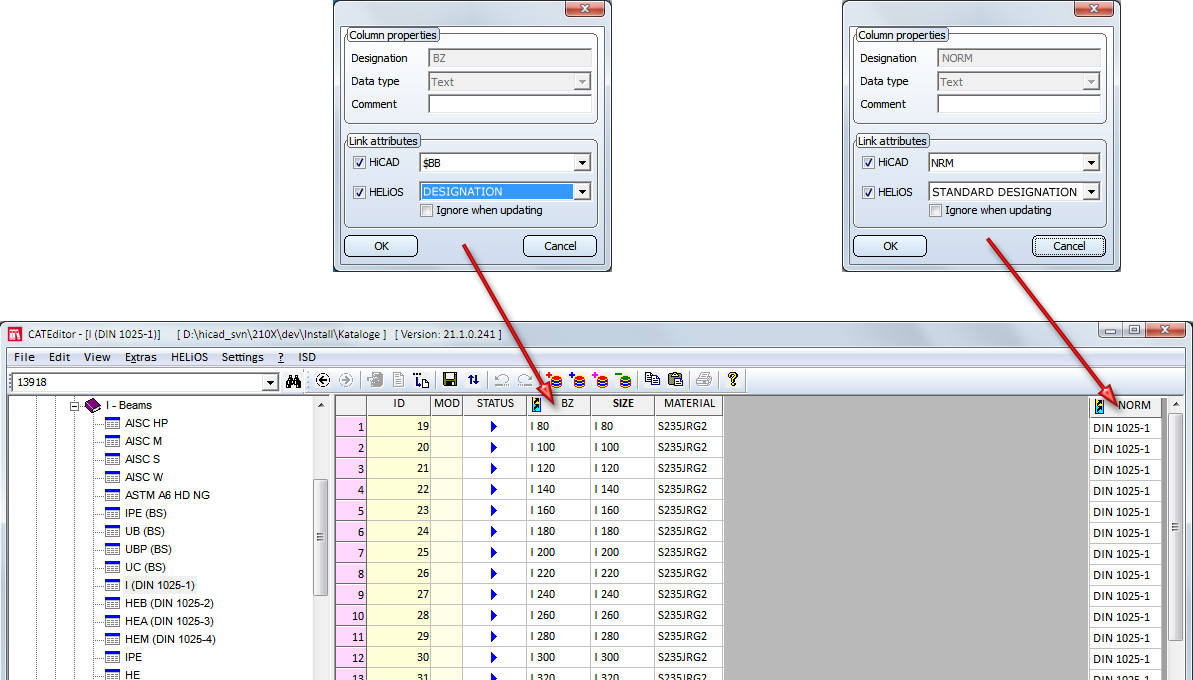
Now, the beam with the manually assigned article master is to be exchanged with an I-beam according to DIN 1025-1.
|
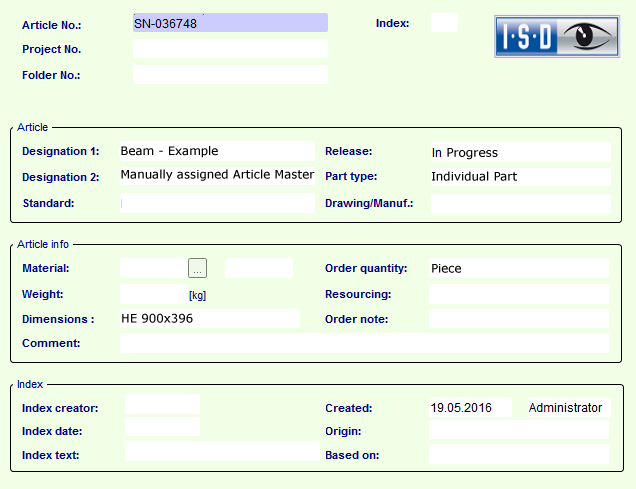
Option Delete |
The manually assigned article master will be replaced with the article master of the I-beam. Result:
|
|
Option Retain unchanged - No collection |
The manual article master will be retained. Result:
|
|
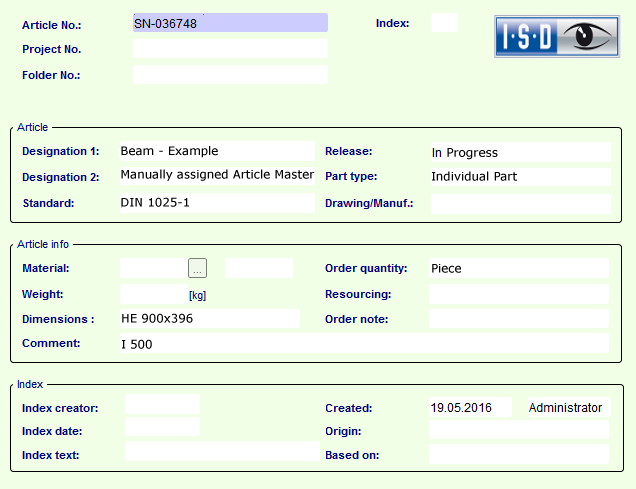
Option Retain unchanged - With collection:
|
The manual article master will be retained, taking the specified collection into accound. For our example this means that
Result:
|

Further Exchange functions
Steel Engineering > Further functions > Exchange 
Clicking opens a pull-down menu with functions enabling you to replace a fitted beam by a prototype beam, sketch beam or a series beam, a multi-part standard beam or an elongated plate. Here you will also find functions allowing you to replace beams by series beams that can be selected via the Catalogue, the Explorer, LogiKal or the article/document master.
| Beam type | Series beams | ||
|---|---|---|---|
|
|
Exchange beam with prototype beam |
|
Exchange series, via catalogue |
|
|
Exchange beam with sketch beam |
|
Exchange series, via Explorer |
|
|
Exchange beam with multi-part standard beam |
|
Exchange via LogiKal, with facade profile |
|
|
Exchange beam with elongated plate |
|
Exchange series, via DB document master |
|
|
Exchange beam with multi-part sketch beam |
|
Exchange series, via DB article master |


Proceed as follows:
- Select the required function.
- Identify the beam to be exchanged. Depending on the function selected, the same dialogue is started as for. If you have, for instance, selected the Exchange with prototype beam function, the Prototype beams dialogue window is displayed.
- Select the replacement beam, the series or, respectively, the sketch. If you select the Exchange with sketch beam function, you will be prompted to enter attributes like designation (article number), weight/length or material. Once you have made your entries, choose OK to exit the window.
- The Fixed point window is displayed. This window allows you to define a new reference axis for the beam to be replaced and the reference axis of the new beam so as to be able to place the new beam exactly. To rotate the new beam during fitting, you can also define the rotation angle. Make the desired settings.
- Choose OK to exit the window.
The beam will be exchanged. All processings that you have performed on the beam to be replaced will be applied (provided that they are plausible).

Further Processing Functions (3-D SE) • Process Beams (3-D SE) • Steel Engineering Functions