Create Mask for Class
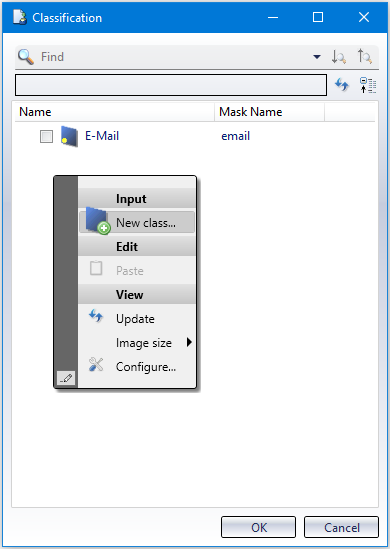
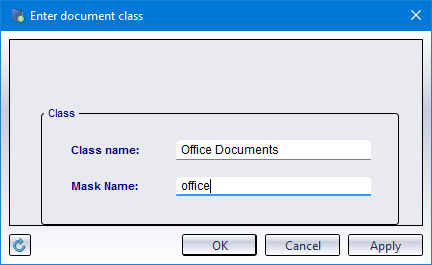
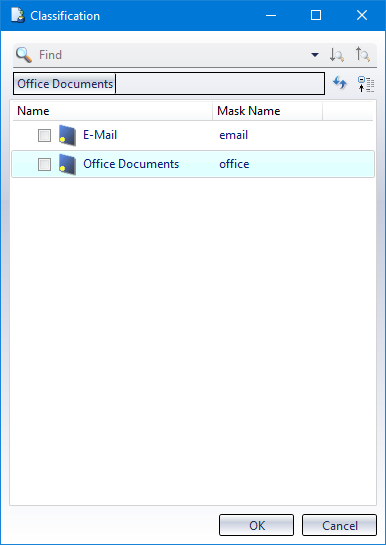
Let us assume you have created a document class for Office files. The class is called "Office Documents" and you have entered "office" as the mask name:
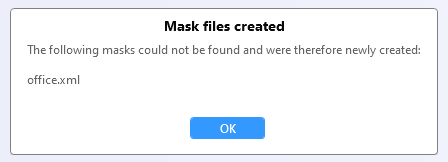
Then start the Mask Editor (if necessary, restart it if it is active).
When you start, you will be informed that this mask file will be created automatically for the class mask you have just created in the Desktop.
The new mask must then be assigned to the corresponding object category.
If you activate the checkbox for document class in the Open mask file  dialogue and deactivate all others, you will see all masks created in the system for the Document class, including the new office.xml.
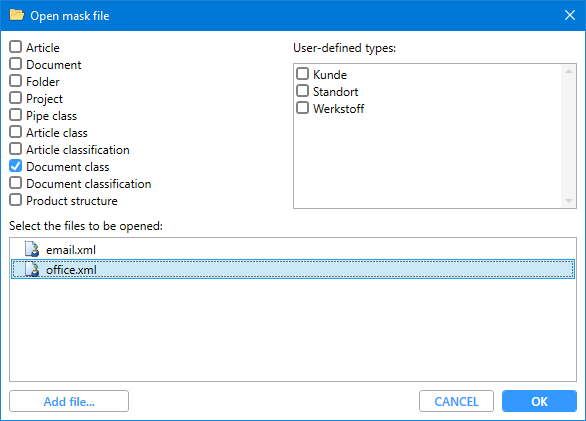
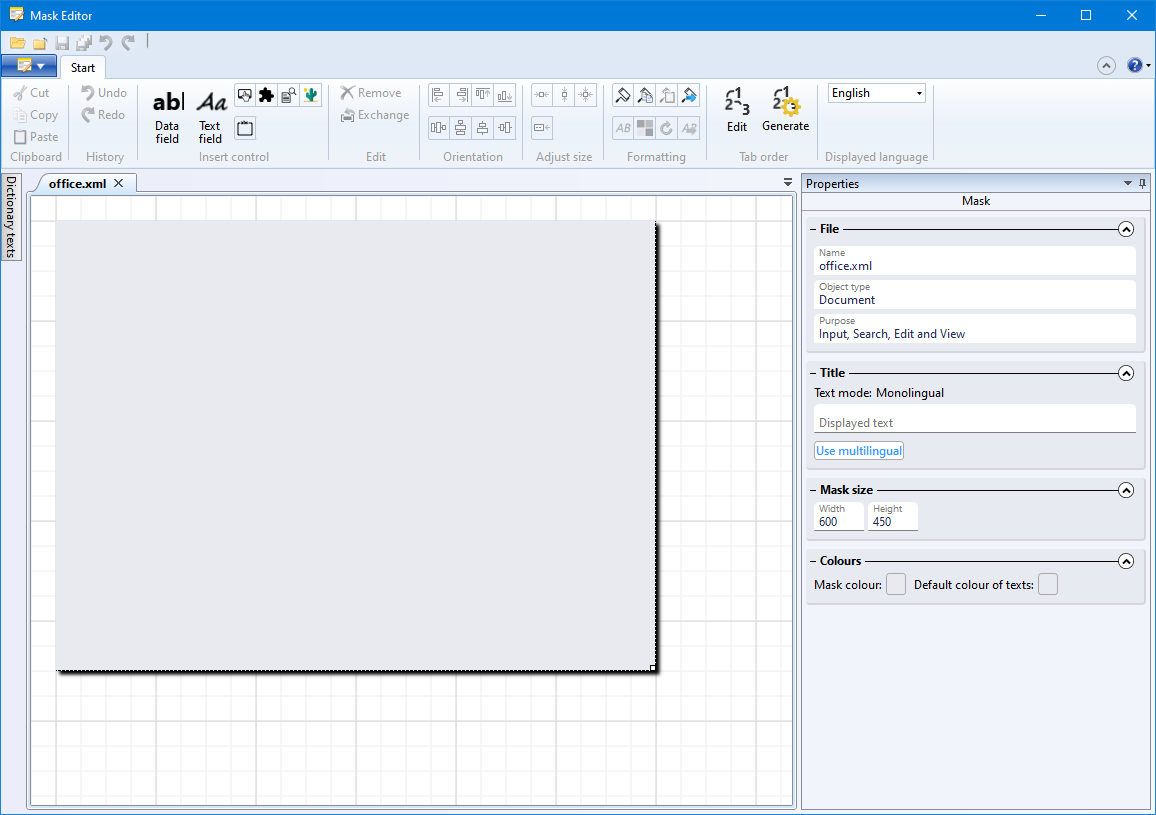
If you mark it and open it with OK (or double-click), you will see the still empty mask for editing:
To integrate a field that displays the file name of an Office document, click on Data field  on the Mask Editor Ribbon.
A dialogue opens to select the corresponding document attribute from the HELiOS database.
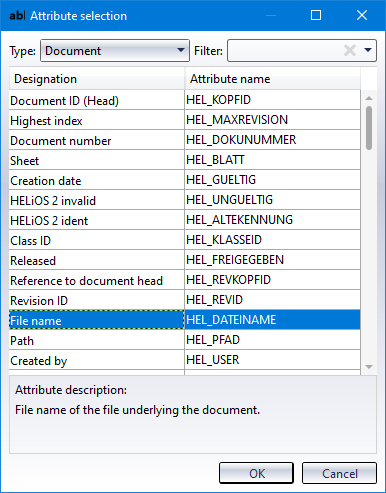
Select the attribute with the name File name (attribute name HEL_Dateiname) by double-clicking or selecting and OK.
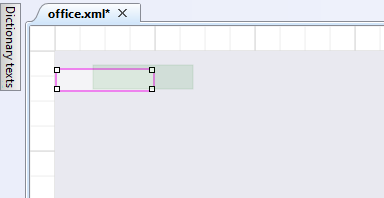
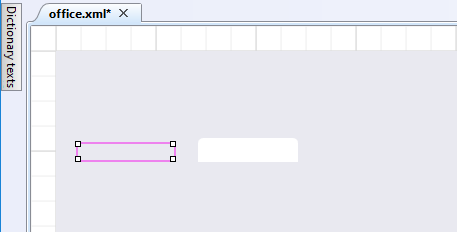
You can then position the newly inserted, highlighted data field in the mask at the desired location with the mouse and change its dimensions if necessary.
It is advisable to position a text field next to it with the corresponding explanatory information about the data field.
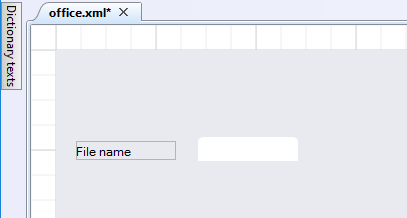
Click on Text field  . Position the text field and the data field in the mask as desired.
If the text field is active, you can, if desired, also carry out further formatting of the field in the Properties pane, such as the dimensions or the font and background colour.
In the Text > Displayed text field, enter File name:
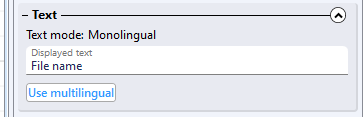
After confirming by pressing the ENTER key, the displayed text will be added to the mask element as it will be displayed in the corresponding mask later in HELiOS Desktop or in interfaced applications.
Proceed likewise with other elements that are to be displayed in the mask.
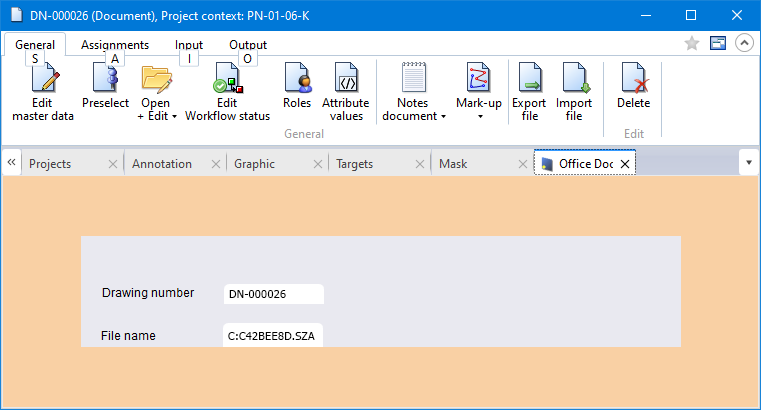
A document that was assigned to the class "Office Documents" in the HELiOS Desktop now shows the file name in the corresponding tab:
A special feature at this point is that you can also define mandatory fields.
For example, if an input field is active, you can activate the option Mandatory field in its Properties pane beneath Element-specific to mark the content of the field as a mandatory attribute.

In the concrete case, this would mean that a document can only be assigned to a class via the class mask if the file name is available.
Of course, this mandatory attribute marking makes even more sense for manual input fields whose information is to be treated as essential.
In this way, you can also use certain attributes differently for different classes at mask level. For example, a check attribute can be set as a mandatory attribute for the article class of a certain part type, but remain optional for the article class of another part type.

