Open and Edit Mask File
Admin Tools > Mask Editor
After starting the Mask Editor, a selection dialogue for opening and editing an existing mask file appears automatically.
While the tool is running, you can also call it up by clicking  Open in the upper left corner of the application.
In addition to the regular Save options, you can also save modified masks as copies to keep the original file unchanged.

Open mask file
> Open
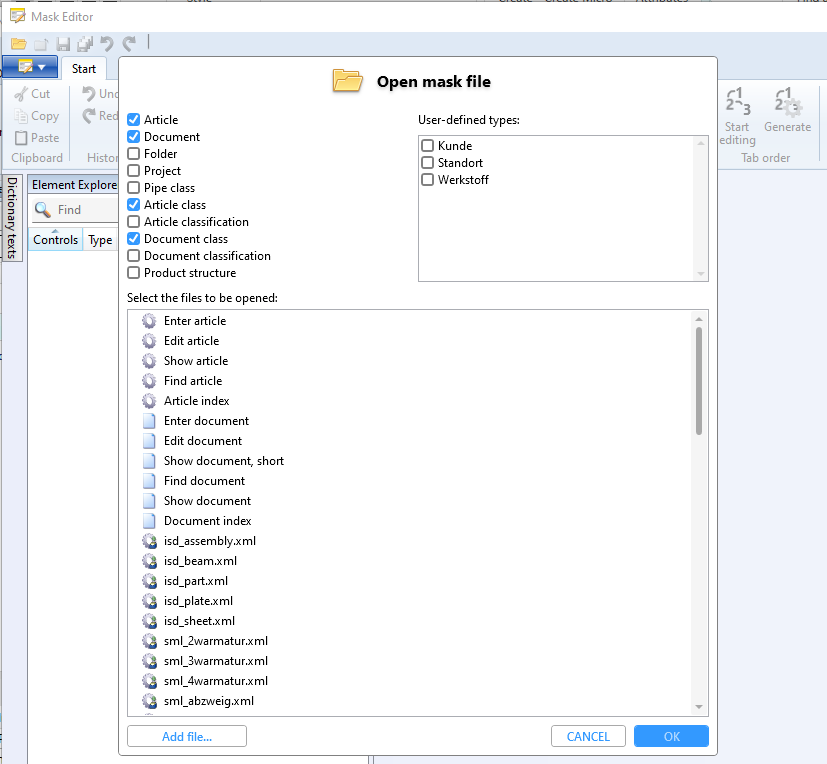
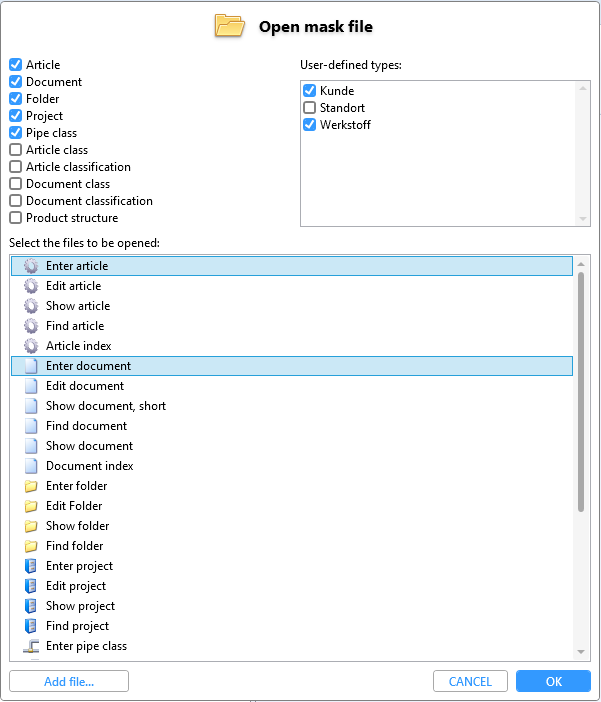
In the upper half of the window, you can include or exclude mask areas for the overview by activating or deactivating checkboxes.
HELiOS remembers the currently defined selection of mask file object types and user-defined types and restores them the next time the selection dialogue is executed.
In the lower half you will see a selection list of all mask files of the ticked categories available in the system.
Tip: You can also select objects by typing in the first letters of a mask name, similar to the Windows Explorer.
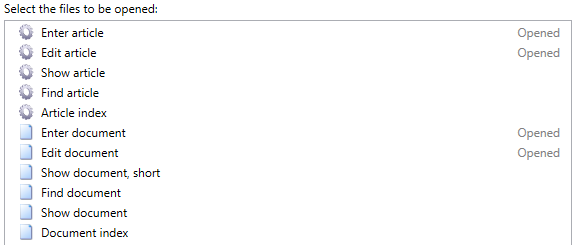
Incidentally, masks that are already open are marked as such in the selection window with the comment "Opened":
If you confirm a multiple selection from the list with OK, all selected masks are added to the work area of the Mask Editor as tabs.
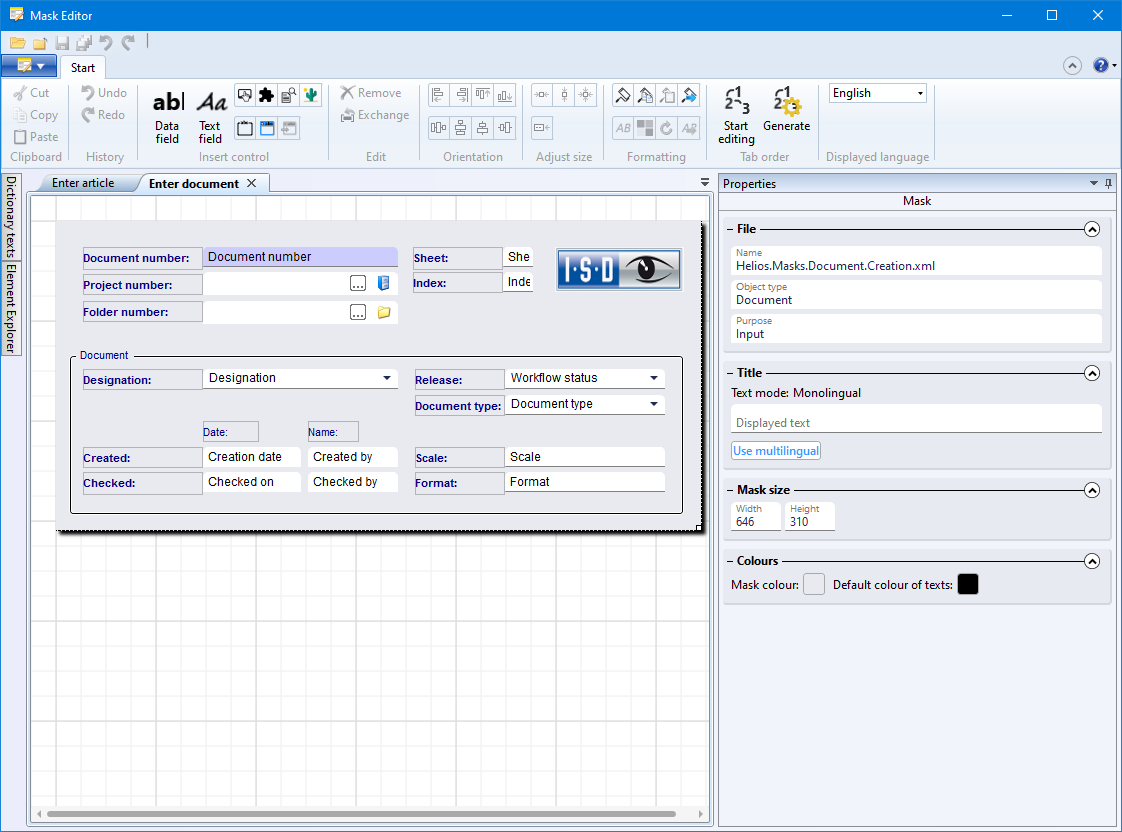
The editing functions of the Ribbon menu are then available for the mask of the active tab. In addition, you can also change attributes of the active mask in the Properties window of the Mask Editor on the right.
Save, Save all, Save copy as...
> Save 
> Save all 
> Save copy as... 
In the pull-down menu that you open with a click on the  button you will find three options for saving masks:
|
|
Save |
Clicking on Save saves the currently open mask file, provided that changes have been made since the last save (recognisable by an asterisk * behind the mask name in the tab title). |
|
|
Save all |
Clicking on Save all saves all the last, as yet unsaved changes to all mask files that are currently open in the Mask Editor. |
|
|
Save copy as... |
With this function you can save the current mask file under an alternative name and/or in a different path. For example, to make an adapted mask accessible to other users, but to keep the original default version of the mask file on the local system. |
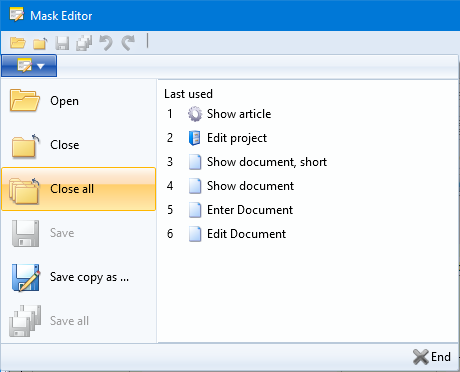
Close, Close all
> Close 
> Close all 
You can close masks by clicking the X symbol of the tab or by clicking Close on the Quick Access bar at the top of the window or in the pull-down menu that you open with a click on the button.
With Close all you can close all currently open masks with one click.
In all cases, you will be asked whether you want to save any changes you have made (an asterisk * in the mask name indicates unsaved changes).
