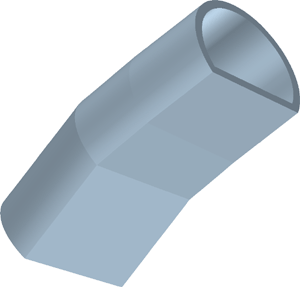
Place Arbitrary Cross-Section
3-D Standard > New > C-edge sweep 
The intention is to place a cross-section (2) on the guideline (1). You want the cross-section to be rotated before it is placed.
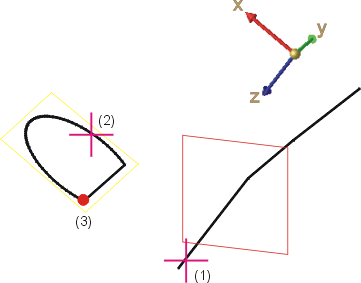
(1) guideline, (2) sketch for cross-section, (3) point for rotation
Proceed as follows:
- Draw the guideline and the cross-section.
- Activate the C-edge sweep
 function.
 - Enter the Article number.
- Activate/deactivate the Reference and Feature and BOM-relevant checkboxes.
- Activate the Arbitrary cross-section option.
- Activate the Hollow checkbox if you want to create a hollow body. If you want the wall thickness to be applied to the outside, also activate the To outside checkbox.
- Specify the wall thickness, e.g. 3.
- Click the Select guideline
 symbol. Identify the guideline.
 - Click
 Select sketch
and identify the desired sketch.
 - Click
 Position
sketch.
 - Choose the transformation type, e.g. Rotate. Define the rotation point and enter the angle of rotation, e.g. 45.
- Click the Preview button and then Apply if you want the part to be created as displayed.
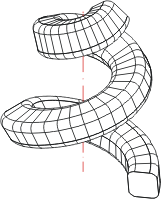
The image below shows a spiral with (1) guideline, (2) cross-section, and (3) edge for direction
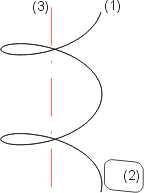
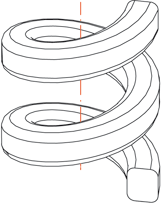
The image shows a spiral with guideline (1), cross-section (2), and (3) edge for direction
 When placing a free cross-section, the (first) guideline must always intersect with the cross-section plane; this applies in particular in cases where the guideline is exchanged via the feature log. If the new guideline does do longer intersect with the cross-section plane (e.g. because it has been shortened), the sweep body creation will not be possible.

Place Circular Cross-Sections (3-D) • C-Edge Sweep (3-D) • C-Edge Sweep Creation Hints (3-D)
