The Timeline
The timeline shows you the periods during which a motor is running. These periods are defined via switches. Green switches mark the start of a time period, red switches mark the end of a time period. Newly created motors have initially always an ON switch at time "0", but no OFF switch. The time period of each motor ends at maximum simulation time. This time must be longer than the sum of all switches.

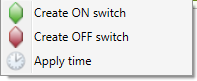
Right-clicking the timeline opens a context menu, enabling you to create ON and OFF switches. Furthermore, you can use the Apply time function to take over the length of a time interval as a time value for a motor or a conveyor. The dialogue window for the motor or conveyor will be displayed, changed values will be highlighted in red.
The switches can be moved dynamically with the mouse.
Right-clicking a switch opens a context menu with editing functions. You can, for example, activate or deactivate switches, delete them or reverse the switch type. Multiple selections (CTRL) are also possible.
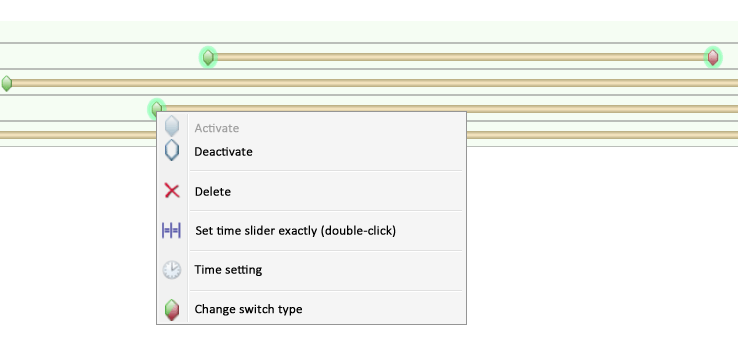
The time setting, too, can be specified via the context menu. Relative specifications always refer to the current time on the timeline. You can also call the function by right-clicking the timeline.
Use the Set time slider exactly (double-click) function to display the state of the simulation exactly at the chosen point in time (current switch). This corresponds to a double-click on an ON of OFF switch.
If a calculation is in progress or if the result of a calculation is being played, the slider shows the corresponding time. If you right-click on the timeline, you can activate the Time setting function.
Furthermore, it is also possible to set the current simulation time on the time line. Move the cursor on the rectangular symbol, press and hold down the left mouse button, and drag the rectangular symbol, as soon as the  symbol appears - to the desired position on the timeline.

When the simulation has been calculated, the parts will then be displayed in their corresponding position.
 Please note:
- Deactivated switches will not be considered for the calculation of the simulation.
- Several time intervals per motor can be defined. These will however only be considered for the motion simulation. In this way, interruptions/pauses in the simulation can be achieved.
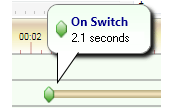
- If you move the mouse pointer over a switch, information on the start and end point of the time period will be displayed.
- Use the
 and
and  icons to shorten or lengthen the timeline, which can also be done dynamically by means of the slider. Clicking the
  icon displays the entire period of simulation.
 - Double-clicking an On/Off switch shows the state of the simulation at exactly this point in time.


The 'Simulation' Docking Window (3-D) • Simulations: Examples (3-D)