Open at the top left corner while the tool is running, choose Show document and confirm with OK.
Project: HELiOS
Let us assume that you want to add a group of additional attributes to the document master data mask.
Proceed as follows:
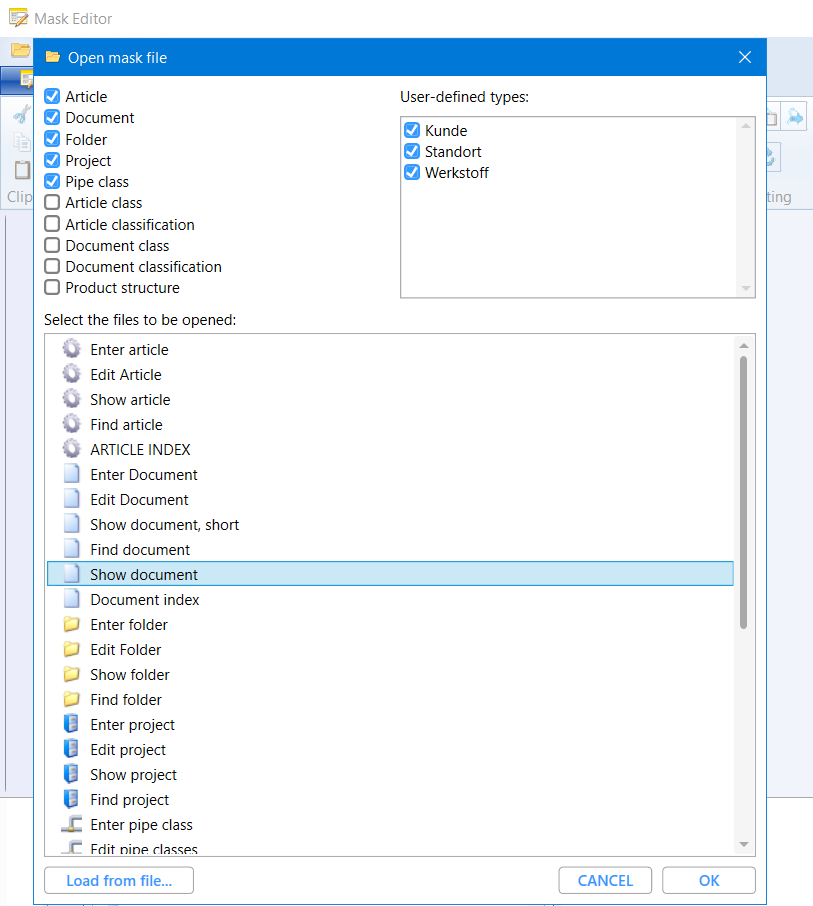
In the Open mask file dialogue window, which opens automatically when you start the Mask Editor, or when you click on Open at the top left corner while the tool is running, choose Show document and confirm with OK.
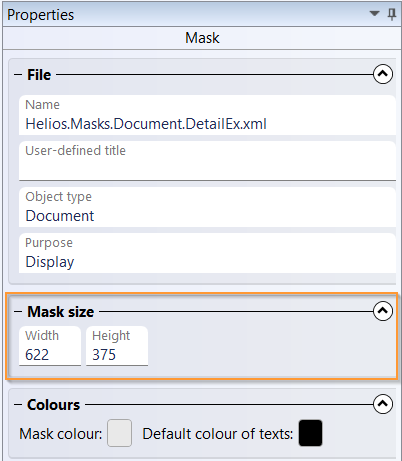
To integrate further fields, it is recommended to enlarge the mask. This can be done in two ways: Select the mask by clicking on the outer edge so that the entire mask is set to active.
For example, you can now manually change the pixel values for Width and Height in the Properties window under Mask size to increase the mask dimensions.
when the entire mask is active in order to expand the mask by dragging. For example, by clicking on the lower edge and dragging down, you can enlarge the mask downwards.
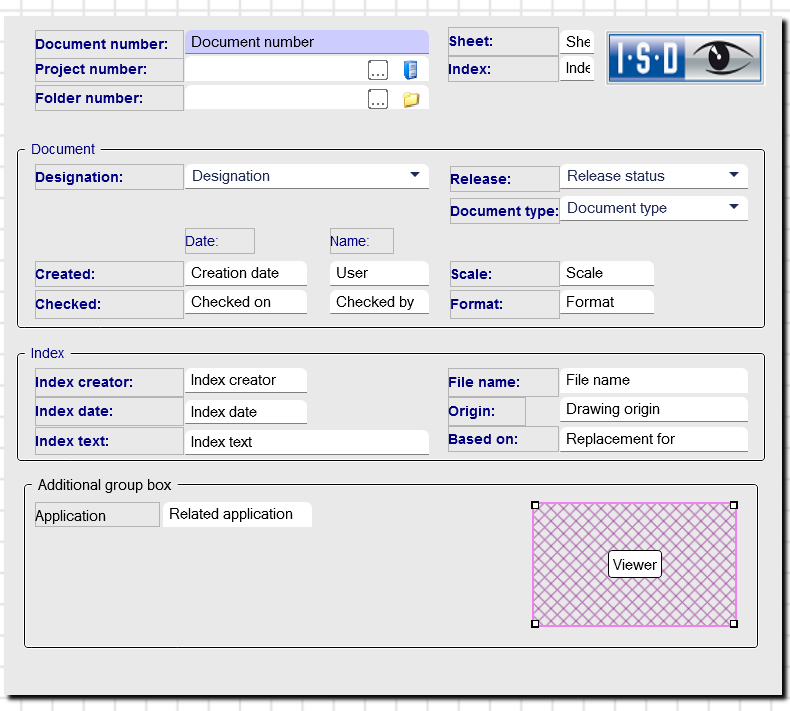
If you want to add a certain group of further attributes to the mask, it is recommended that you first create another group box for it.
On the Ribbon of the Mask Editor, go to the Insert control function group and click on  New group box.
The Group box is first added to the mask in the upper left corner and is highlighted in colour so that you can drag & drop it directly to the desired position and enlarge it there.
You can then change the placeholder text ("Text") for the heading or the group box name, if the group field is active, in the Properties window at the bottom at Element-specific - Heading.
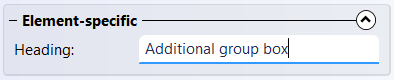
The change is directly applied in real time by the Group box.

The integration of further master data elements for display in the mask is done by choosing  Insert control > Data field on the Ribbon.
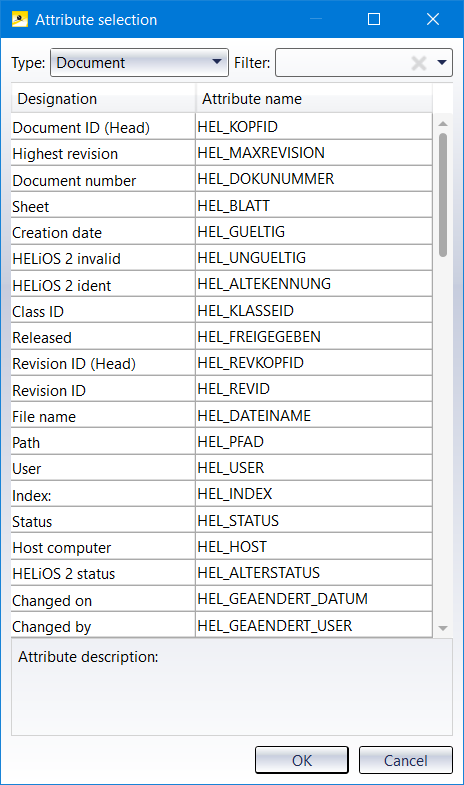
A selection dialogue opens with an overview of all attributes that can be added for the corresponding HELiOS object (in this case documents, since we are editing a document mask).
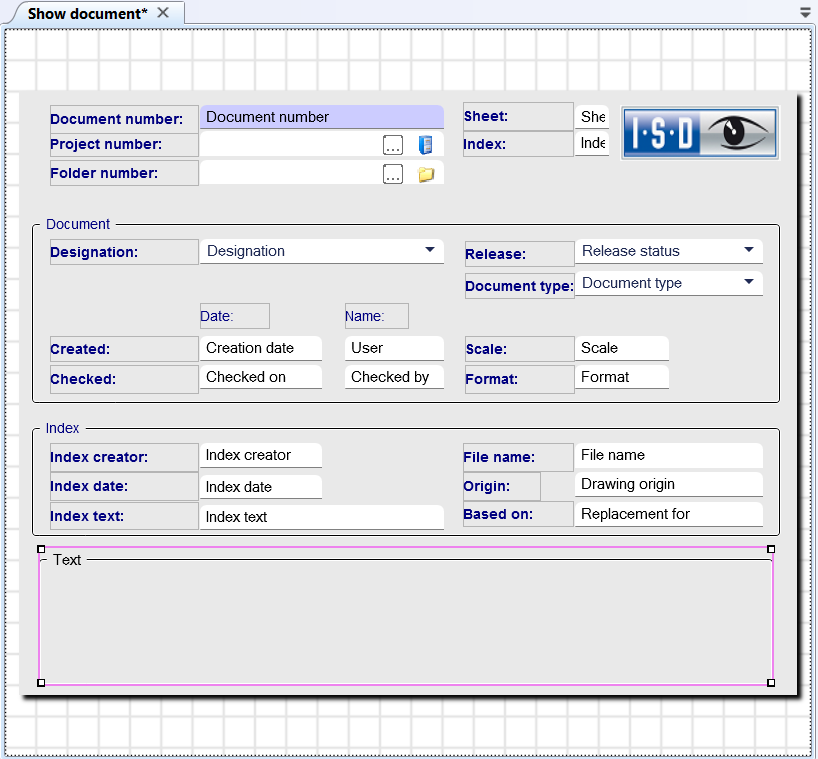
In this example, you want to display in the document detail screen which application was used to create the source file of the corresponding HELiOS document, and thus open it from HELiOS for further processing (which could be an office application or a CAD application such as HiCAD).
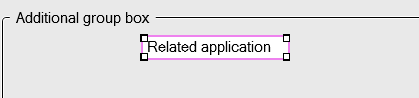
To do this, choose the attribute with the Designation: "Related application" (attribute name: "HEL_APPLICATION") in the selection dialog, and confirm by double-clicking or OK.
(Tip: If you sort by Designation by clicking on the corresponding button, you will find the attribute at the bottom. A further click sorts the attributes in reverse alphabetical order, whereupon attribute designations beginning with Z are then displayed at the top of the list)

The data field is added to the mask switched active. Move it by drag & drop to a desired position in the new Group box and change its width if desired, also by drag & drop.
In addition to the data field, of course, we also add a text field that provides information about the categorical name of the data field. To do this, select the function  Text field in the function group Insert control.
This element, too, will be added to the mask, where it can be moved and its dimensions can be changed.
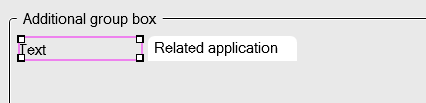
As with the Group box, you can change the text of the field in the Properties window under Element-specific.

For exact positional alignment of the newly added elements you can use the tools of the Orientation function group of theMask Editor Ribbon.
For example, you probably want to make sure that all text fields on the far left of the mask have the same distance to the mask border.
To do this, first click on the new text field (Application) and then on one of the already standard aligned ones above it, e.g. the text field with the content "Index text".
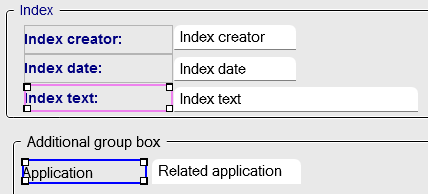
After clicking on  Align left edges, the distance of the "Application" text field corresponds exactly to the distance of the "Index text" text field.
To make sure that the text field and the data field are at the same height, you can mark both (+ Ctrl) and align them with each other using  Align top edges or
  Align bottom edges.
If the two fields have different height dimensions, you can also easily change them by first clicking on the field whose height is to be changed, then using Ctrl on the one of the two whose height is to be taken over by the other, and then clicking on  Equal height in the Adjust size function group.
You can also adjust the distance between the two fields to the distance to which the other fields of the mask are already aligned.
Another tip: If elements are already correctly aligned with each other, but still need to be moved to another position in the mask, you can of course also select all elements to be moved using multiple selection and move them using Drag & Drop. The alignment relationships of these elements to each other will be retained.
If you also want to integrate a document preview into the mask at this point, for example, you only need to click on  New Viewer in the Insert control function group and drag the elements added to the mask to the desired position.
![]() Please note:
Please note:
The viewer preview may not work for every file type by default or can be set up individually for certain formats.
Once you have saved your changes in the Mask Editor, you can view them directly in the Extended mask tab of document detail windows that you open in the HELiOS Desktop or linked applications:


|
© Copyright 1994-2020, ISD Software und Systeme GmbH |
Data protection • Terms and Conditions • Cookies • Contact • Legal notes and Disclaimer