
Project: HiCAD Sheet Metal
Sheet Metal > Further Tools > Punch
HiCAD Sheet Metal has a library of prepared punches, which you can insert into your Sheet Metal part. To expand the library you can use
Proceed as follows:
If you want to punch several flanges of a Sheet Metal main part simultaneously, activate the Sheet Metal main part.
Once you have selected the function, the Setting dialogue window appears.
Select Through for the punching of several flanges.
The selection window containing the punching tools opens. The selection is displayed as a tree structure, as is standard in Windows.
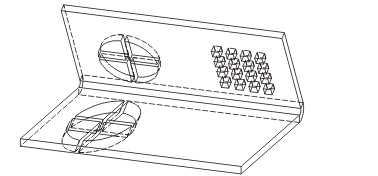
You can now insert the tool individually or compile a group via the Grid menu that appears.
The sheet will then be punched. You can now insert the punch once more. Alternatively, you can use the right mouse button to activate a context menu before defining the new fitting position. The functions of this context menu allow you, for example, to change the fitting direction if desired. Use the middle mouse button to end the function.
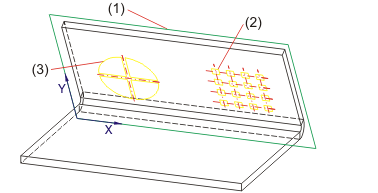
(1) Processing plane
(2) Punch to the next surface
(3) Complete Sheet Metal part punched (Through)
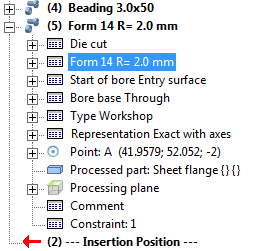
 The punch will be entered into the Feature log and can be changed with a double-click on the feature "Form".


|
© Copyright 1994-2019, ISD Software und Systeme GmbH |