Project: HiCAD 3-D
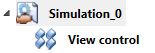
When you create a new simulation, a View control entry will be automatically inserted in the structure tree.
You can then use this View control entry to define sequences of views in the simulation: You select a sequence of different views which will then be shown one after the other, as if by camera panning.
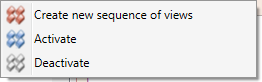
If you right-click the View control entry, a context menu will be displayed. The functions in this context menu enable you to active or deactivate the View control, or create new sequences of views.
If the View control has been deactivated, sequences of view beneath it will not be considered for the simulation. The status of the view control - active or inactive - will be indicated in the structure tree by an appropriate symbol:
|
|
View control active |
|
View control inactive |
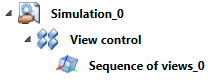
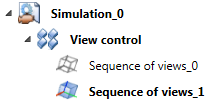
New sequences of views created with the  Create new sequence of views function will be entered beneath the View control item in the structure tree. The name of a new sequence of views will always be Sequence of views_n, with n being an automatically assigned, consecutive number. It is possible to create several sequences of views, but during the simulation only one sequence of view can be active. The active sequence of view will appear in bold type in the structure tree.
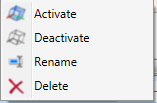
If you right-click a sequence of views, a context menu opens, enabling you to activate, deactivate, rename or delete the sequence of views.
A deactivated sequence of views will not be considered for the calculation of the simulation. A deleted sequence of views can be restored via UNDO.
The status of a sequence of views - active or inactive - will be indicated in the structure tree by an appropriate symbol:
|
|
Sequence of views active |
|
Sequence of views inactive |
If all sequences of views are deactivated, the View control will be inactive as well.
Proceed as follows:
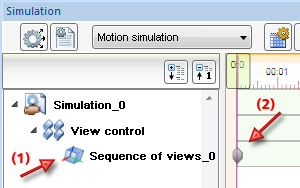
Create new sequence of views. The new sequence of views will be created beneath the View control in the structure tree (1). The current view will be entered as a key point at the point of time "0" in the timeline (2).
 Set current view. A new key point will then be set for the sequence of views. Proceed likewise to add further key points for the sequence of views. When doing so, please note the following:
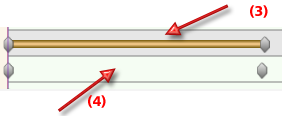
 If two different views follow in succession, the time interval between the two corresponding key points will be highlighted in the timeline (3). This time interval indicates that there is a change of view between the key points.
If two identical views follow in succession, the time interval will not be highlighted in the timeline (4). There will be no change of view during this period.
The first and the last key point of a sequence of views have one special property: From the point in time "0" until the point in time represented by the first key point, the view is identical to the view of the first key point. From the last key point until the end of the simulation, the view is identical to the view represented by the last key point. If you have only one key point, the view will remain identical to the view represented by that key point during the complete simulation.
You can then set a key point for that view via the context menu of the sequence of views in the timeline at any point in time.

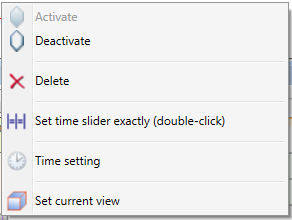
Right-clicking a key point opens a context menu, enabling you to activate, deactivate or delete the key point. Furthermore, you can change the time setting via a dialogue, or set the time slider exactly to the time of the key point.
 Please note:
Example with sequences of views

Simulations (3-D) • The 'Simulation' Docking Window (3-D) • Simulation: Examples (3-D)
|
© Copyright 1994-2019, ISD Software und Systeme GmbH |


