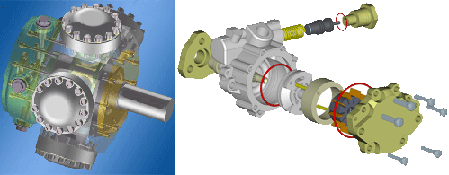
Shading and Lighting
- Add floor and side walls to your 3-D model, if required. They can reflect the light. You can subsequently choose a screen display that prevents these objects from being visible.
- Assign suitable colours to your model. Use the HiCAD Colour/Material Editor to define your own colours and materials. Or assign individual textures to your model.
- Use layer 40. Objects located on this layer are transparent.
- Shade your drawing with or without edges.
- Use the settings for subsequent Surface approximation and for the Mesh fineness of freeform surfaces to make the shading appear even cleaner. You can find these functions in the context menu for drawings.
- Use the Graphics window
function under
 Settings > Colour settings.
You can use wallpaper or colour gradients as the drawing background here
and also optimally illuminate the 3-D model temporarily with very few slider
movements.
- Choose a 3-D view and place the spatial centre in the middle of the screen. Even now, by shading your drawing, you will be able to determine whether the lighting settings and the selected view are relevant and meaningful.
- Use the key combination CTRL+C to save the drawing as a high-resolution BMP or JPG file.
- If required, you can also simulate environments by assigning panoramas to your model. The environments are then mirrored on the surface of the model.

![]() Programs like DirectConvert
and others can also convert the HiCAD drawing into other formats such as TIF.
Programs like DirectConvert
and others can also convert the HiCAD drawing into other formats such as TIF.

Create Pixel Graphic • Background and Lighting • Simulate Environments (3-D) • Assign Textures (3-D)
