Vault Server: Installation
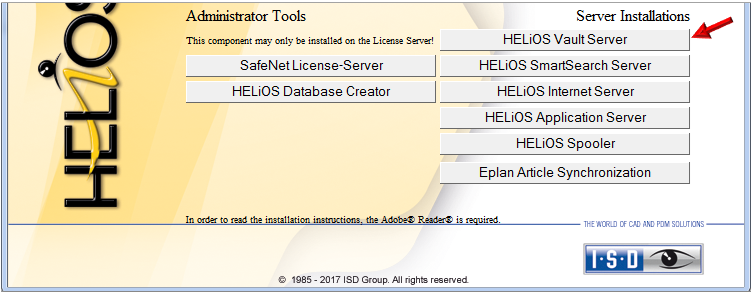
The installation of the Vault Server takes place via the HELiOS Installation DVD. In the installation selection mask, click the HELiOS Vault Server button.
Click Next and specify the desired installation directory for the Vault Server.
Specify a Server name in the HELiOS Vault Server Settings (e.g. company name plus location). This name will be displayed if, for example, your Vault Client connects to the Vault Server. Also, specify the Port number of the Server.

In the next dialogue window the Server directories are specified.
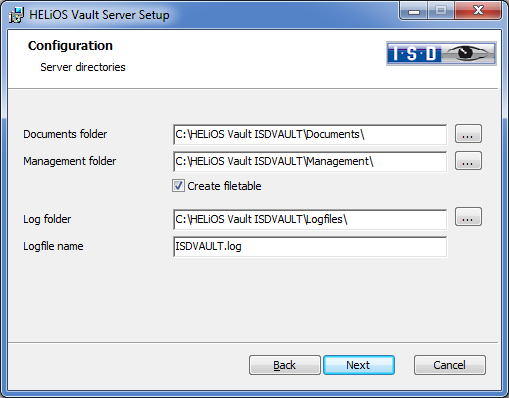
The Vault Server renames all documents (e.g. SZA, DOC, XLS, …) managed in the database to *.VDF um. These VDF files are saved to the Documents folder.
The files saved to the Management folder contain the assignments of the file names to the "original file names".
In the log files (*.LOG) are saved to the Log folder. They record each access to the VDF data.
Enter the name of the log file in the Logfile name field. You can, for example, use the name of the Vault Server for this. The log file will be cut off after a particular length and will be assigned the current date.
Complete your installation by clicking Install and Finish.
![]() Please note:
Please note:
- The minimum system requirements for the Vault Server can be found, among other things, in the current installation notes for HELiOS.
- Please also read the notes given in the Replication Management with VSKonfig.exe topic. If you use several Vault Servers, you can use this configuration tool to define one central Vault Server among them. It is important that the hierarchy with one server as central Vault and the other servers as secondary locations will be observed.
- If the installation routine find an "unclear" older (manually performed) Vault installation in the system, you may receive a message telling you that a new installation or update installation cannot be carried out. In such cases, please contact the Consulting team of the ISD.

