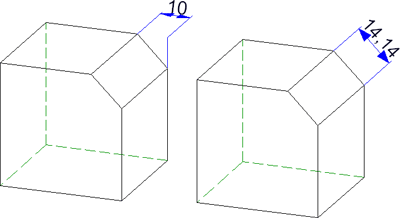
Linear dimension
Independent dimensions with only one dimension geometry and one dimension figure.

Half-section dimension (click  )
)
Dimensions in which the second dimension point is created by mirroring the first dimension point on a symmetry axis. Half-section dimensions are generally used to represent lengths of symmetrical parts. The representation is made in half-section, i.e. with a projection line and shortened dimension line.

Chain dimension
Dimension group in which two consecutive sub-dimensions have a common dimension point.

Parallel dimension
Dimension group in which all sub-dimensions have the same start point, and the dimension lines of the sub-dimensions a fixed distance from one another.

Running dimension
Chain dimensions in which all sub-dimensions refer to the same start point (the reference point). The dimension figures are automatically placed at the end of each dimension unit, perpendicular to the dimension line. The reference point is identified by the dimension figure 0.

Running chain dimension (click  )
)
A combination of running dimension and chain dimension.

Heights above datum
Special reference dimensions in steel engineering and mechanical engineering.

Coordinate dimension(click  )
)
Special reference dimensions in which the first identified point is interpreted as the reference point. Starting from this point, each absolute dimension between the reference point and the other dimension points is determined. The reference point is identified with the dimension figure 0.
