Enter Documents
Input > Simple input
> Document 
To enter a new document, open the Input tab and select Simple input > Document . First, the Select template file(s) dialogue will be displayed:
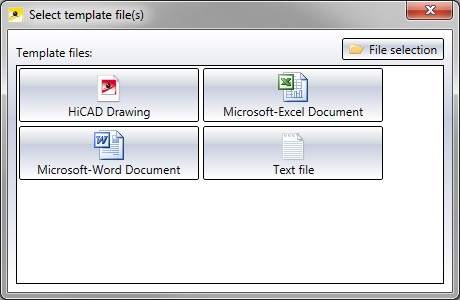
Select one of the initialised template files for the desired document (HiCAD, Word, Excel or Text), or click File selectionto select a particular file from your local system.
After your selection, the Enter document dialogue window will be displayed:

The selected template file will be entered in the File name field of the input mask.
The grey fields will be automatically filled in or are locked against data input.
Via the  buttons next to the Project No. and Folder No. fields you can assign the Article to a Project or a Folder. All available Projects / Folders will then be displayed in a selection dialogue.
If you do not want to make a particular assignment, click the  Project-independent or
  Folder-independent icon, respectively.
Select the  Classification function at the bottom left of the window to assign the document to a class. Confirm your entries with OK.
Next to it you can see an entry for the Workflow. If there are different possible Workflows for the corresponding HELiOS object type when you enter it, you can make the selection via a pull-down menu:

After creating the classification, an additional tab for the mask you have defined will appear.
The data will then be entered in the database. The further procedure depends on the settings for documents in the HELiOS Options.
 Please note:
- Click the
 Reset button an the bottom left of the window to clear all input fields in the mask again.
 - Click Apply to save the document to the database while the window remains open. Whenever you click the Apply button after an entering of data, another document with the corresponding data will be saved to the database.
- Click OK to save the document to the database and close the window. If the document has not been saved to the database with Apply yet, it will be saved now.


Documents • Find Document • Enter Documents with Drag & Drop