Orientation
Admin Tools > Mask Editor 
In the function group Orientation of the Mask Editor Ribbon you will find tools with which you can align multiple selections of fields. For example, to align a column of fields one below the other at the left edge of the mask.
The following functions are available:
|
|
Align left edges |
|
|
Align right edges |
|
|
Align top edges |
|
|
Align bottom edges |
|
|
Equal distance, horizontal |
|
|
Equal distance, vertical |
|
|
Centre, horizontally |
|
|
Centre, vertically |


Proceed as follows:
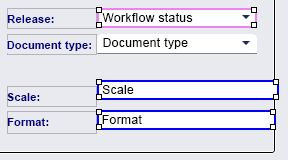
Always click first on the element whose alignment is to be transferred to another or several. This is highlighted with a violet border.
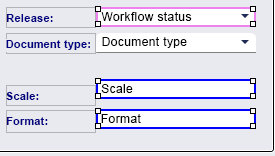
Then, while holding down the CTRL key, click on the element or several elements in succession that are to take over the alignment of the first one you clicked on. These are highlighted with a blue border.
Finally, click on the desired function, e.g.  Align left edges.
The alignment to the left edge of the mask element clicked on first is then applied to all fields clicked on afterwards, if this is possible.
Proceed likewise to adjust the height of the corresponding elements.
To do this, first select, for example, a field with the desired alignment, then the field that is to adopt it and then click on  Align bottom edges
With the centring functions  Centre, horizontally and
  Centre, vertically elements can also be aligned directly centred to the horizontal or vertical axis.
![]() Please note:
Please note:
In principle, aligning elements also works across group boxes, but alignments are only carried out automatically if the space is available in the mask or within a corresponding group box.
If group boxes have to be extended downwards or to the right for an alignment action, this also happens automatically. The size of the group box remains unchanged, but a scroll bar may be inserted. If the group box is then dragged larger manually, the alignment of the elements will be as desired. Group boxes cannot be dragged larger in left or upwards direction.

