Wall
3-D Standard > Process > Wall 
Use this function to apply a wall to the active part. Clicking  opens a pull-down menu with the Envelope parts
  function.
To create the wall, proceed as follows:
- Enter the Wall thickness.
- Beneath Direction, activate the Internal or External radio button to specify whether the wall is to be applied to the inside or to the outside of the part.
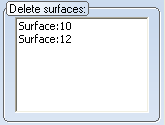
- In the drawing, identify the surfaces to be removed. All surfaces are shown in the Delete surfaces list box.

If you want to undo the selection of a surface, right-click on the entry in the list and select Delete. - Click Preview if you want to see a preview of the wall. If you want to apply the wall as displayed, confirm with Create.

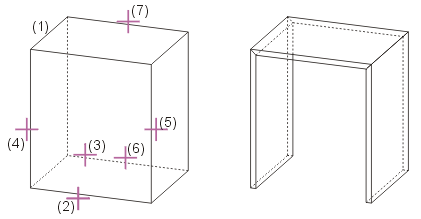
Left: (1) Active cuboid, (2) to (7) Edges for surfaces to be removed
Right: Created wall

Process Part (3-D) • Model and Process Parts (3-D) • Surface Selection Menu (3-D)
