
 , e.g. with Width 1000, Height 1500.
  and then select the corresponding lines. The variables i_l and i_h can be directly assigned here.
  > Parallel
  . Now the HCM model of the sketch is fully parameterized.
 Project: HiCAD Dach/Wand/Fassade
Generally, you can use every HiCAD Catalogue element with a planar surface for element installation. For this to happen, however, the desired catalogue elements must meet certain requirements, namely:
The following example of a rectangular grating (DIN 24537) illustrates the utilisation of existing catalogue elements for element installation:
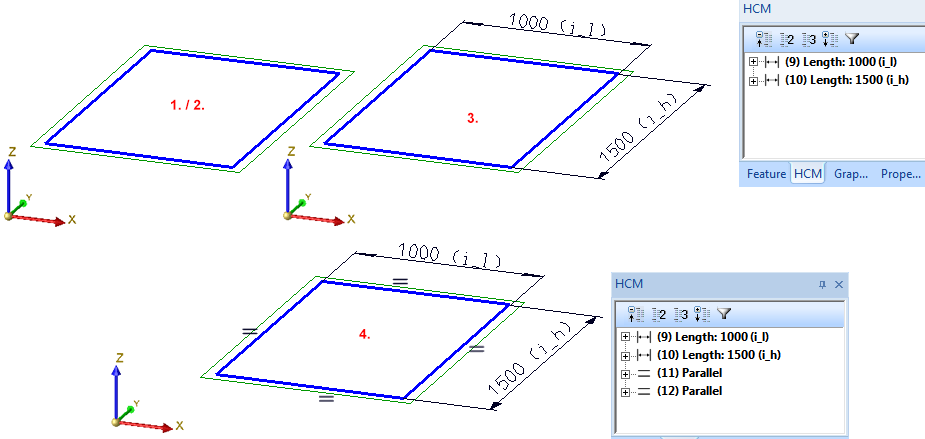
Step 1: Insertion and parameterization of the sketch for the grating
First, create a step from which the grating step can then be derived.
, e.g. with Width 1000, Height 1500. and then select the corresponding lines. The variables i_l and i_h can be directly assigned here. > Parallel . Now the HCM model of the sketch is fully parameterized.
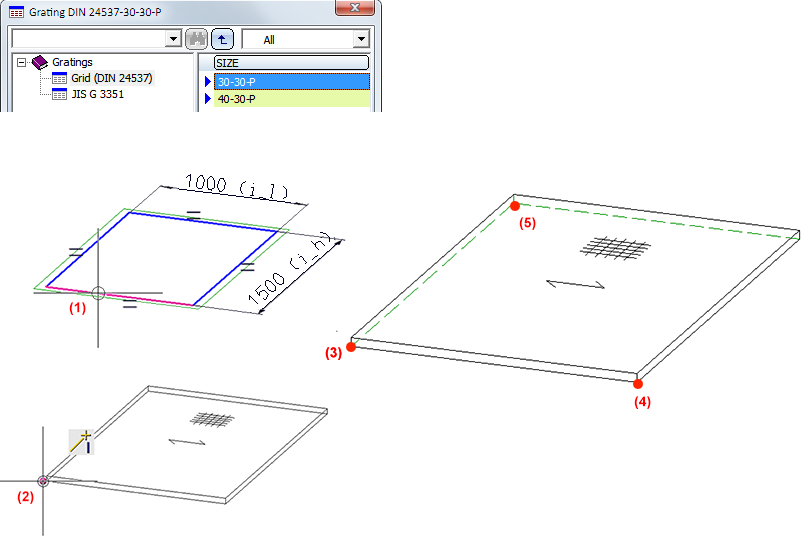
Step 2: Insertion of grating step and definition of Fitting CS
 > Define Fitting CS
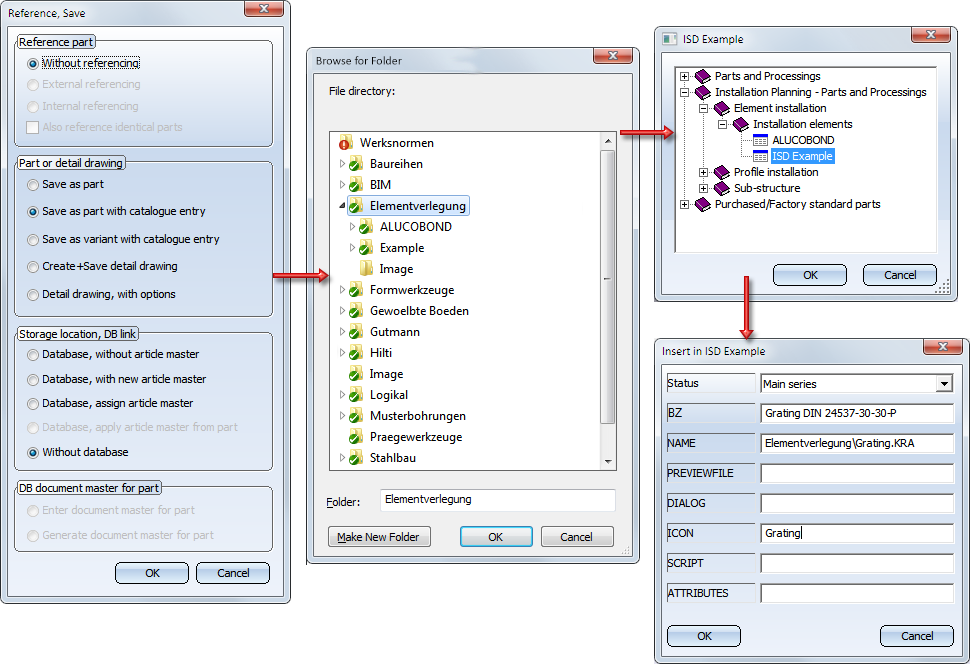
Step 3: Save the grating to the "Installation elements" catalogue
The grating can now be saved to the "Installation elements" catalogue with the function Drawing > Save/Reference > Part...  .
.
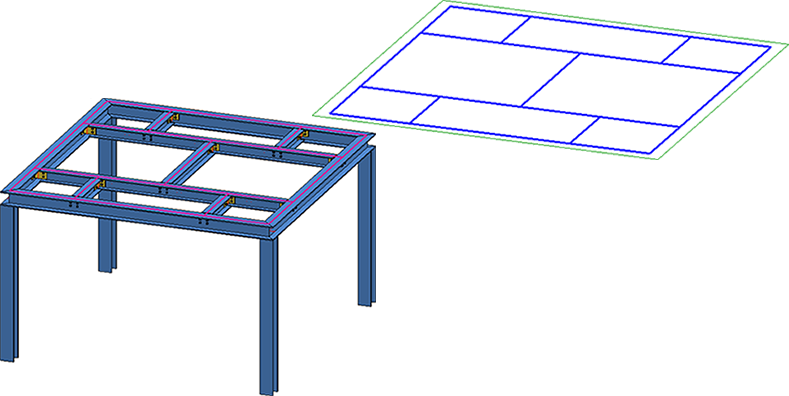
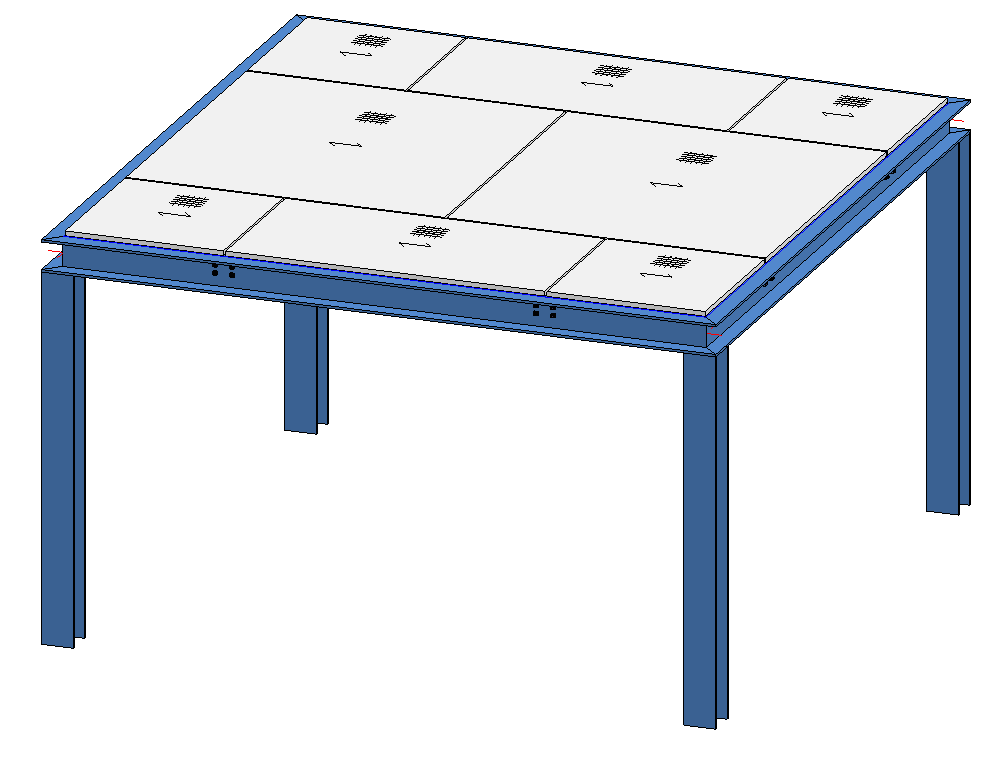
The grating is now ready for use for element installation. In this example the grating is installed on a platform. The installation surface is the sketch shown below.

In the same way you can use other catalogue elements, e.g. glass elements: For instance, the excluded installation areas of the facade sketch in our Example could easily be filled with such glass elements.


Element Installation • Catalogue Editor
|
© Copyright 1994-2019, ISD Software und Systeme GmbH |