 icon at the bottom left. The Classification dialogue window for the corresponding object type will be displayed(here: for the Enter article mask).
 Project: HELiOS
When entering data for a new Article or Document, you have the additional option to assign a class.
In the input mask shown below, click the icon at the bottom left. The Classification dialogue window for the corresponding object type will be displayed(here: for the Enter article mask).
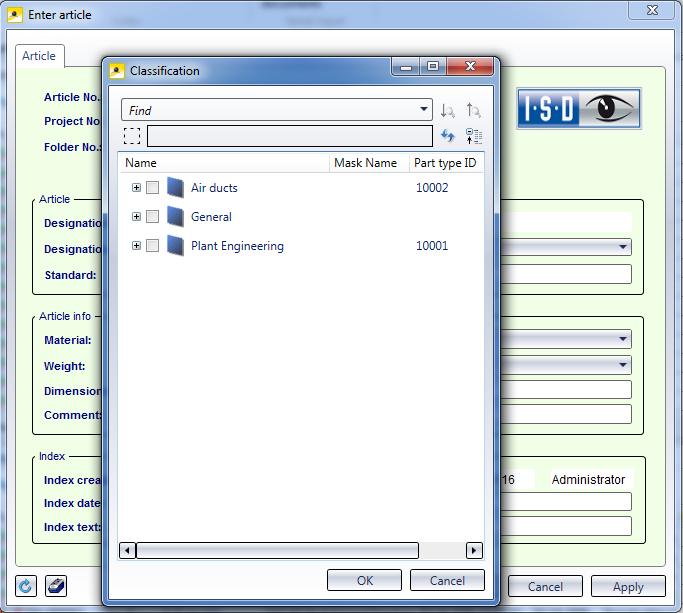
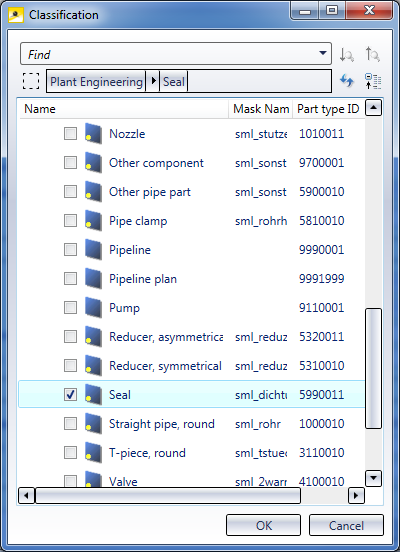
In the class structure, activate the checkbox of the class you wish to assign to the HELiOS object (Article or Document). Confirm with OK.
An additional tab with the name of the selected class will then be created in the data input window of the object. Here, you can enter further data, e.g. for the Connection type.

Click OK to save the article with this class assignment.
 Please note:
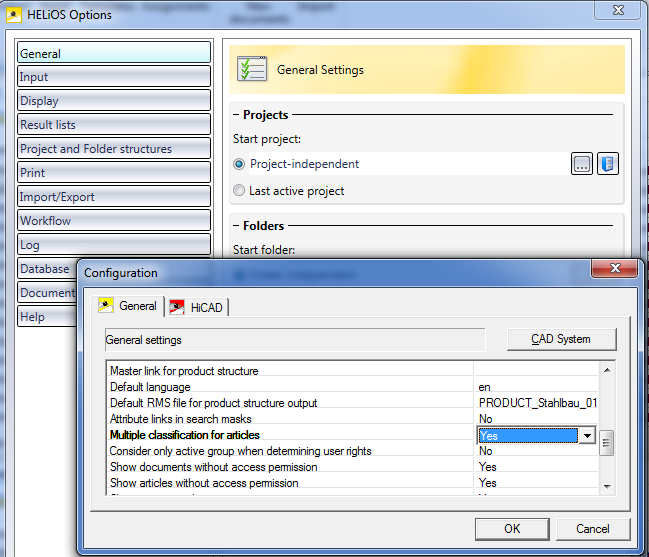
If you want to assign particular articles to multiple classes which do not have a hierarchical relation to each other, select HELiOS Options > Database, and on the General tab, set the parameter Multiple classification for articles to Yes (default: No).
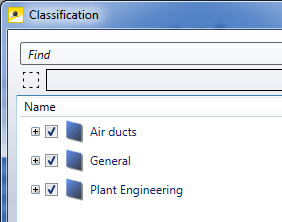
If this option has been set to Yes, multiple selections of hierarchically unconnected classes can be ticked in the Classification window for articles (see below). Click OK to assign the article to the classes (when the option has been set to No, articles can only be assigned to one particular superordinate class, but not to multiple classes.


Documents • Article • Pipe Classes
|
© Copyright 1994-2019, ISD Software und Systeme GmbH |