P+ID Symbol > Symbol > New ![]()
So-called General data masks are data records that consist of P+ID dialogue types and for which no graphic exists (Symbol without graphic). The umbrella term for Symbol is Object here.
The topics about DMOs comprise the following chapters:
Data mask objects (DMO) can now be defined by means of the New library symbol![]() function.
function.
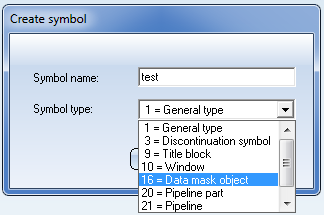
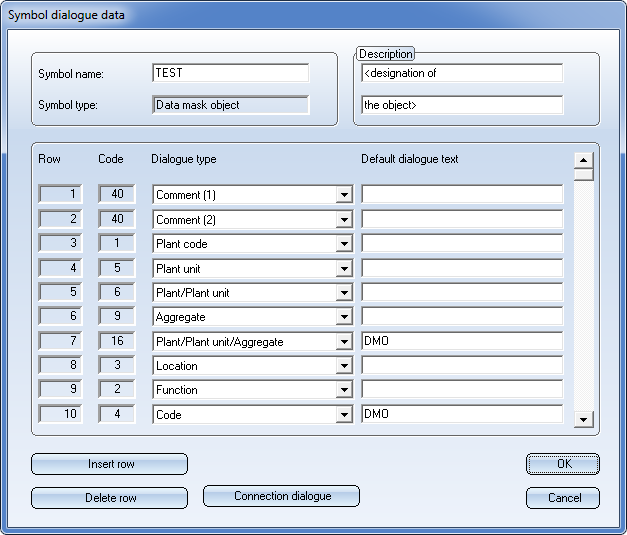
After confirming with OK, the data mask dialogue of the data mask object (DMO) will be displayed.
As the DMO has no graphic, the use of a normal symbol graphic is not recommended here - use a Bitmap instead. Select P+ID Symbol > Draw (2-D) Bitmap ![]() to assign an image to the DMO. Supported are the data formats BMP, GIF, TIF,JPG and EMF. After selection of the image you need to specify two fitting points in the drawing.
to assign an image to the DMO. Supported are the data formats BMP, GIF, TIF,JPG and EMF. After selection of the image you need to specify two fitting points in the drawing.
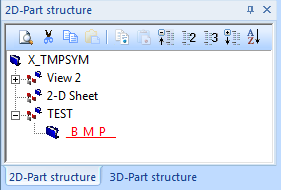
In the 2D-Part structure the Bitmap is represented here the sub-part "_B_M_P__" of the DMO "TEST".
To define a DMO library, call the New library ![]() function on the P+ID library tab. In the Start Center, enter P+ID, Flow charts in the Start mode field. After this, select the Data mask object library
function on the P+ID library tab. In the Start Center, enter P+ID, Flow charts in the Start mode field. After this, select the Data mask object library![]() function.
function.
The data mask objects can be saved to a DMO library. The corresponding Bitmap and the designation will be shown in the Symbol group of the library.
P+ID > P+ID Sheet > Edit sheet for data mask object ![]()
If you use DMOs in a P+ID, a separate DMO sheet will be created, on which only the DMOs will be saved. When you create a new P+ID, an empty DMO sheet will be created. The DMO sheet has no graphic and can only be loaded with the functions Previous sheet and Next sheet.
When you call the Edit sheet for data mask object![]() function, a dialogue window will be displayed where you can edit the existing DMOs and insert new ones.
function, a dialogue window will be displayed where you can edit the existing DMOs and insert new ones.
Click on Insert and choose Symbol selection via name. Confirm with OK.
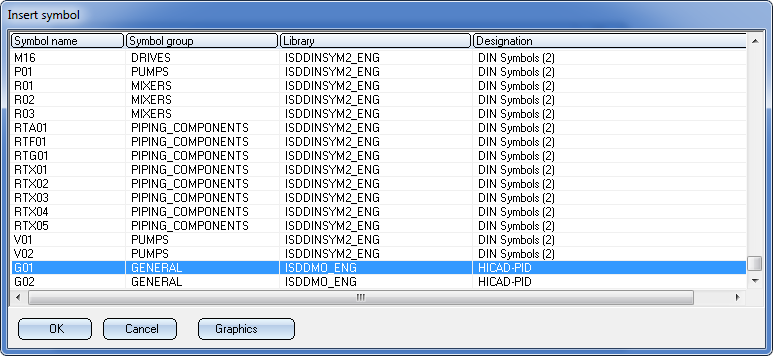
Select the DMO from the symbol list and confirm with OK .
When you select a normal symbol (no DMO), or insert a DMO in a normal sheet (no DMO sheet), an error message will be displayed.
To edit the symbol mask, click the Edit button in the List of data mask objects dialogue window.
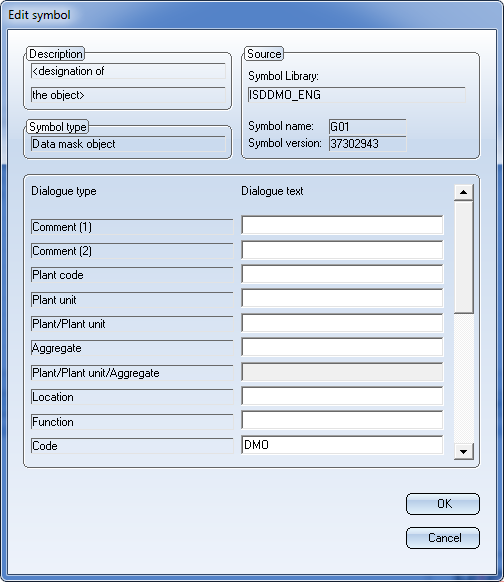
In the opened dialogue window you can select DMO dialogue types. After confirming, the corresponding generation printout will automatically be taken over into the input field.
Click OK to save the changes, and Cancel to discard them.
It is possible to subordinate one DMO to another DMO. At the same time, a DMO can be superordinated as a so-called "Parent DMO" to other DMOs. A Parent DMO can, however, not be subordinated to another DMO.
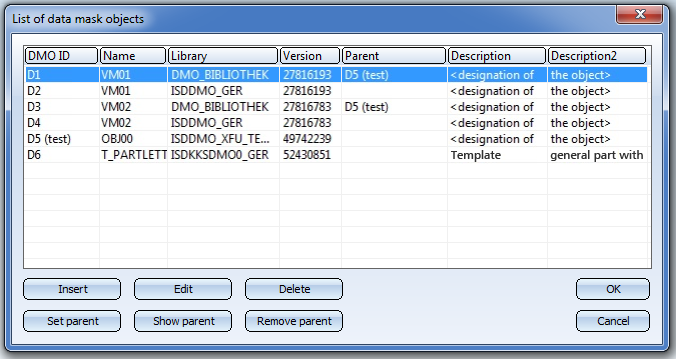
Use the Edit sheet for data mask object function to display a list of DMOs in the DMO sheet in the dialogue window.

In the example above there are 6 data mask objects in the project. The DMOs D1 and D3 refer to the Parent DMO with the DMO ID D5.
The following functions for the DMO hierarchy are available:
You can then use the context menu of a subordinate DMO to apply the attribute value of its Parent DMO via generation rule with the keyword %PARENT.
The data mask objects (DMOs) have obtained two additional dialogue types.

Manage and Edit Library Symbols (P+ID) • New Library Symbol (P+ID)
|
© Copyright 1994-2018, ISD Software und Systeme GmbH |