> Toolbars
> Toolbars
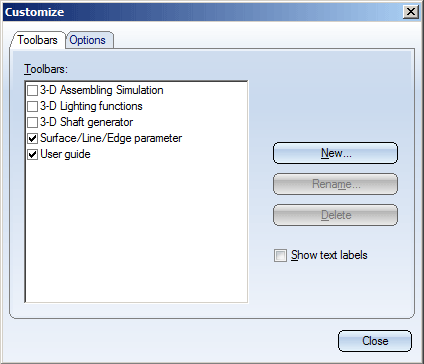
The predefined ISD toolbars can also be used as templates for the definition of your own toolbars. To define a new toolbar, select Settings > Toolbars. The Customise window is displayed.
Activate the Toolbars tab and click the New button.
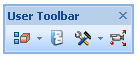
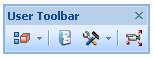
Enter the name of the toolbar, e.g. "User Toolbar", and drag it onto the drawing surface.
Now show the toolbars whose buttons you want to use for your own toolbar by activating the appropriate checkboxes.
Move the cursor on the button you want to copy to your new, user-defined toolbar. Press and hold down the CTRL key and move the button into your new toolbar.
As long as the Customise dialogue window is active, you can right-click a button on your toolbar to open a context menu enabling you to influence the representation of your toolbar and its individual buttons.
| Function | Description |
|---|---|
|
Delete |
The current button is removed. |
|
Start group |
If this entry is active, a new group begins within the toolbar, starting with the current button. For the sake of identification, a separating line is inserted in the toolbar - either to the left of the button or above it (depending on your toolbar configuration). If you deactivate the Start group item, the separating line will be removed again. |
|
Image |
Representation of the button by a graphical symbol (icon) |
|
Image and Text |
Representation of the button by a graphical symbol, plus text (function description) |
|
Text |
Representation of the button by text (function description) |
|
Button Appearance... |
The button representation can be set in a separate dialogue window, where you can also change the button text if required. |


Identification Modes • 3-D Drawing
|
© Copyright 1994-2018, ISD Software und Systeme GmbH |