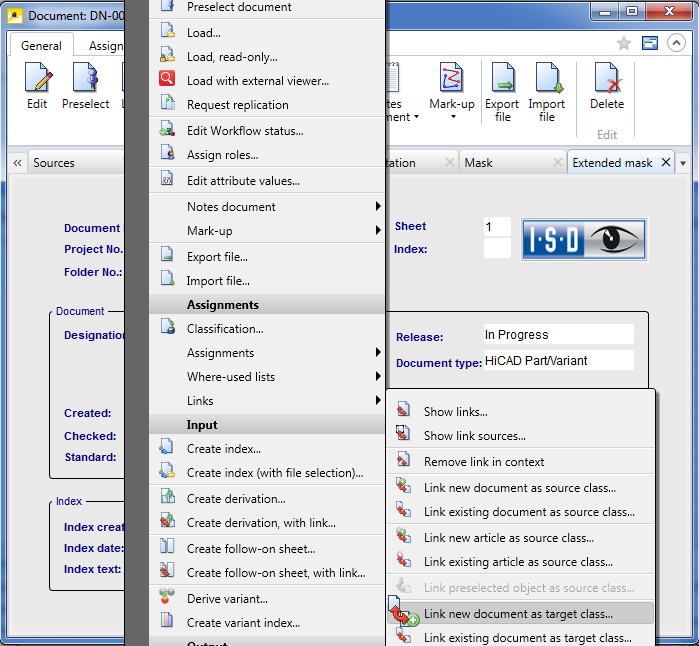
 Links pull-down menu on the Assignments Ribbon tab of a document detail mask, you can find various functions for the linking to other documents or articles.
 In the context menu of a document (right-click item in result list or empty area in a detail window mask), and also in the Links pull-down menu on the Assignments Ribbon tab of a document detail mask, you can find various functions for the linking to other documents or articles.
After selection of some functions, the Enter links dialogue window will be displayed, and the current document is automatically entered in the selected window of the class. The Link can be selected from the drop-down list at the top of the dialogue.
|
|
Link new document as source class |
Links a new document as source class to the active object. When you call the function, the Link selection for... dialogue opens first, followed by the Select template file(s) dialogue (here you select one of the offered template files via the buttons, or, via File selection, a specific file from the local system), and, finally, the Enter document dialogue. |
|
|
Link existing document as source class |
When you call the function, the dialogue window for link type selection opens; after this, the Find document dialogue window will be displayed, enabling you to select the document to be linked as source class. |
|
|
Link new article as source class |
Links a new article as source class to the active object. the Link selection for... dialogue opens first, followed by the Enter article dialogue. |
|
|
Link existing article as source class |
When you call the function, the dialogue window for link type selection opens; after this, the Find article dialogue window will be displayed, enabling you to select the article to be linked as source class. |
|
|
Link preselected object as source class |
Links the active object to the preselected object in the Clipboard (see also Preselect document function in the Functions for the Active Document: General topic), with the latter object as source class. After this, a dialogue for link type selection will be displayed. |
|
|
Link new document as target class |
Links a new document as target class to the active object. First, the links type selection dialogue window opens, then, the dialogue window for the file type selection (you can either select one of the suggested template files in the selection dialogue, or select a specific file from the local system via File selection), and, finally, the Enter document dialogue window will be displayed. |
|
|
Link existing document as target class |
When you call the function, the dialogue window for link type selection opens; after this, the Find document dialogue window will be displayed, enabling you to select the document to be linked as target class. |
|
|
Link new article as target class |
Links a new article as target class to the active object. the Link selection for... dialogue opens first, followed by the Enter article dialogue. |
|
|
Link existing article as target class |
When you call the function, the dialogue window for link type selection opens; after this, the Find article dialogue window will be displayed, enabling you to select the document to be linked as target class. |
|
|
Link preselected object as target class |
Links the active object to the preselected object in the Clipboard (see also Preselect document function in the Functions for the Active Document: General topic), with the latter object as target class. After this, a dialogue for link type selection will be displayed. |
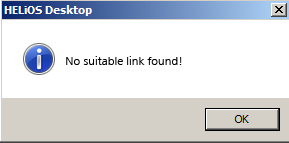
If a link cannot be created between particular object types, for which there can be various reasons (e.g. no link type available for this purpose in the database), the following message will be displayed:
One practical example of this linking of documents would be the linking of a CAD drawing with an associated user manual.
In the detail mask of the corresponding document (of the CAD drawing), right-click and choose Links > Link new document as target class.
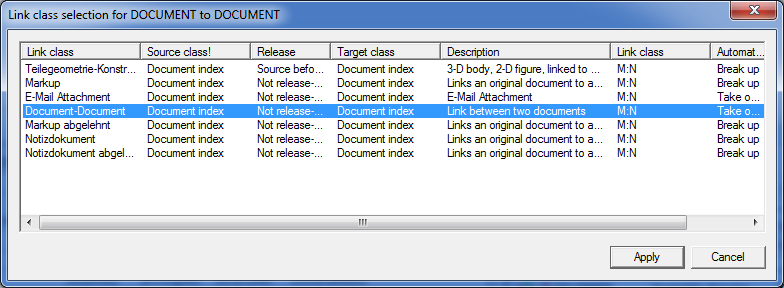
In the displayed Link class selection... dialogue, choose Document-Document and confirm with Apply.
At the top right of the following dialogue...
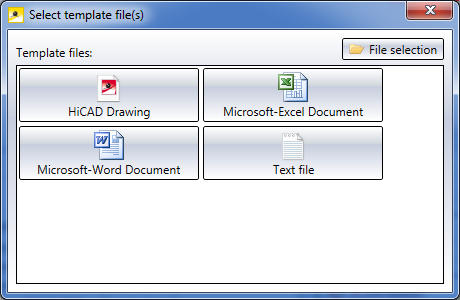
...click on File selection and select the file (e.g. of the type PDF) to be linked to the source document of the CAD drawing via your Windows Explorer.
Now, the document data input mask for the target document appears. nächstes erscheint die Dokument-Eingabemaske für das Zieldokument. Dort können Sie Angaben wie z.B. eine eindeutige Benennung machen, Bestätigen Sie die Eingabe mit OK.

Im folgenden Dialog für den Workflow-Objekttyp sollte Allg. Dokument (R) ausgewählt werden.

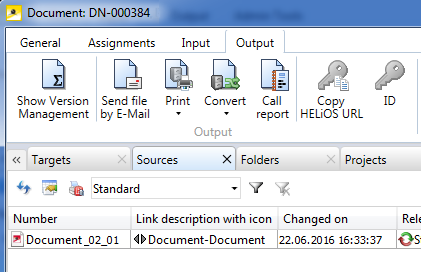
Danach wird die Dokument-Detailmaske der neu angelegten Gebrauchsanweisung geöffnet. Im Reiter Quellen wird das Dokument der CAD-Konstruktion als Verknüpfungsquelle aufgeführt (genauso wie in der Detailmaske des CAD-Dokuments die Gebrauchsanweisung im Reiter Ziele aufgelistet wird).


The HELiOS Desktop • Define Links •Enter Links •Find Links • Pre-Allocate Links via Templates • Assign Links
|
© Copyright 1994-2018, ISD Software und Systeme GmbH |


