You have the option to create your own object types (e.g. Supplier or Employee) and assign attributes to them. You can then create links from user-defined object types or their attributes, respectively. In this way it is ensured that the attributes (e.g. an address) will be updated automatically.
Proceed as follows:
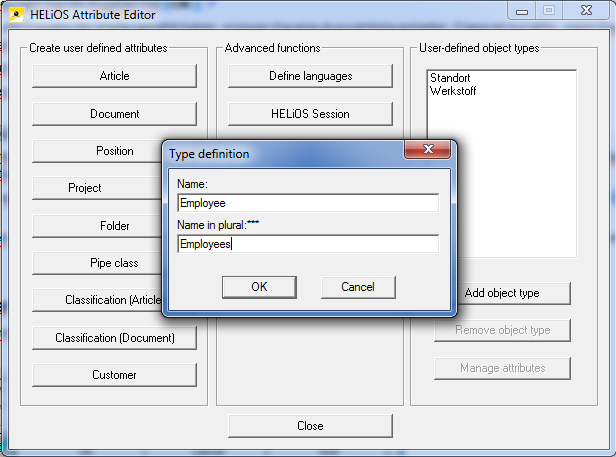
Attributes always refer to an object type, i.e. an attribute (e.g. Designation) can have different meanings in Document, Article and Project masks. You can therefore also create a new attribute called Designation for the object type Employee.

The masks can also be equipped with the user-defined attributes after their generation (see Mask Editor).
In HELiOS you can now access the new object type via the User-defined types  function on the Find and Input tab.
Attributes always refer to an object type, i.e. an attribute (e.g. Designation) can have different meanings in Document, Article and Project masks. You can therefore also create a new attribute (e.g. Designation) for user-defined object types (e.g. Employee). User-defined attributes are created in the Attribute management: ... dialogue window.
Proceed as follows:
In the "New" mode, the following icon will be displayed:  .
.
The Index is version-dependent, the Head is version-independent. This means that if you change the Article number (Head) it will be changed for all indices.
When searching for a document, Free attributes offer the option to enter multiple values in one field.
You can link the Predefined lists of the different attributes to each other; if you want the newly created attribute to be taken over for modified drawings (Change), derived drawings (Derivation) or Follow-on sheets, activate the corresponding checkbox.
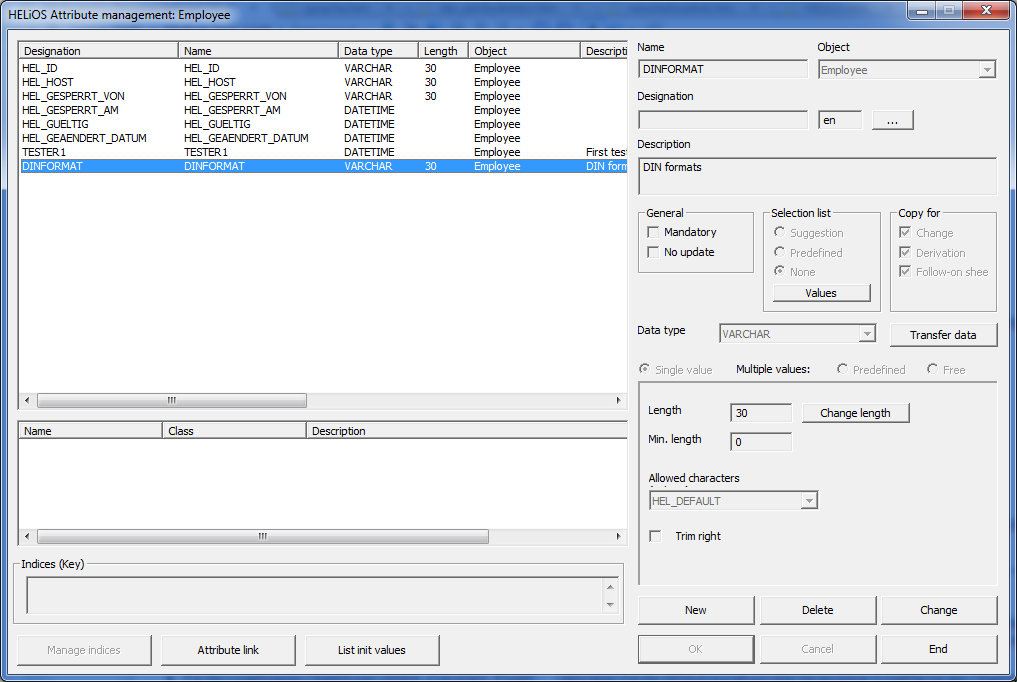
One of the most important properties of an attribute is the so-called Data type. The data type determines how the attribute values are later to be entered in the mask. Depending on the data type, further properties can be specified. The following data types are available:
|
Data type |
Description |
|---|---|
|
INTEGER |
These are whole numbers, e.g. 10, 1000, -3. For integer values you can specify intervals that must be kept to. |
|
FLOAT |
Float values are floating point values, (aka decimal values), e.g. 1.234, -4.3. For floating values you can specify the desired number of decimal places. |
|
REFERENCE |
A reference attribute refers to a user-defined type, e.g. "Employee". In the Attribute Editor you determine only the user-defined type. In the Mask Editor you can then explicitly specify the name of the respective "Employee". |
|
VARCHAR |
VARCHAR values are character strings of arbitrary lengths (which are, however, limited by all database servers supported by HELiOS). For each VARCHAR attribute a maximum length needs to be specified. For VARCHAR attributes you can choose a set of allowed characters.
|
|
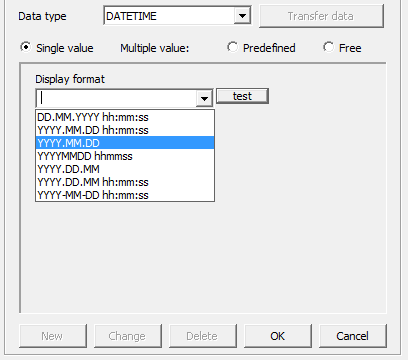
DATETIME |
This data type depicts date and time accurately to the second. The time values will be stored in a globally valid, unambiguous format to the database. The formatting for the user can be chosen individually. In the attribute management window, click Change and select the desired format from the Display format selection list. |
|
VARCHARML |
This is a multi-language attribute. The multi-language ability is achieved by a translation table that must be kept to. Each multi-language attribute has its own translation table. The number of languages is only limited by the ISO 639 (where the existence of approx. 150 languages (and their respective abbreviations) is defined. Likewise an arbitrary number of translations is possible. |
Select a data type, e.g. INTEGER. Depending on the selected data type, further specification are required; for instance, you need to define an allowed range of values (minimum and maximum value) for INTEGER values.
If you have chosen the Predefined values you need to create a selection list. This list will only be active if all entries had been saved with OK.
The Predefined values / Suggestions dialogue window will be displayed.
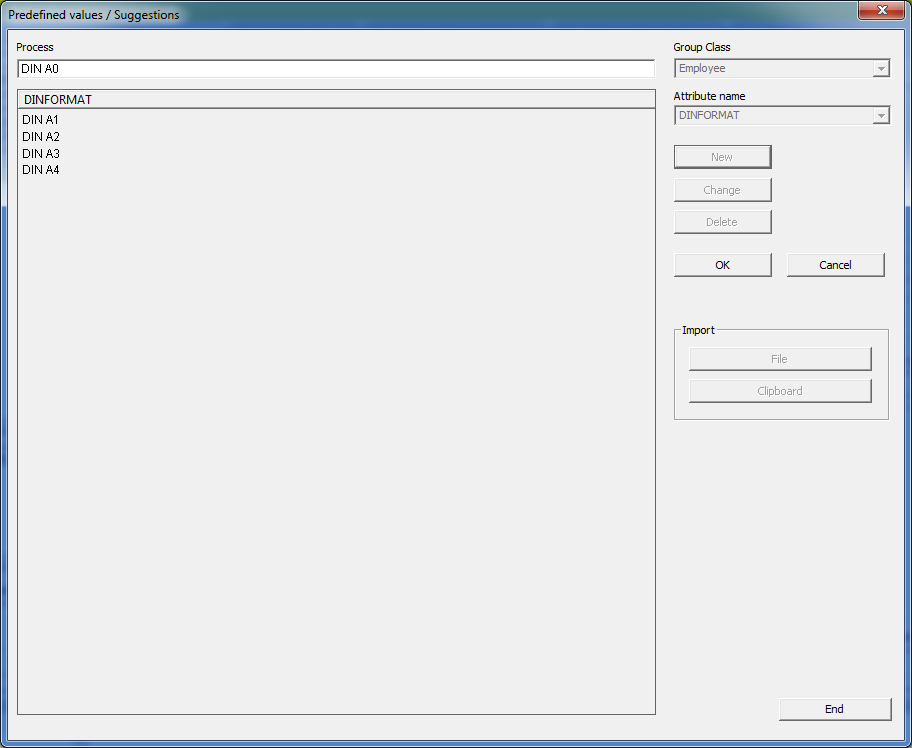
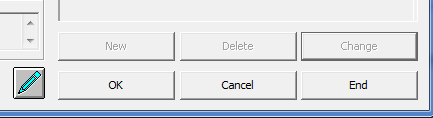
If you want to change or delete a row, mark the row, click Change or Delete and confirm with OK.
You can also take values from a text file. A prerequisite for this is that the values are arranged one below the other. Beneath Import, click File and select the desired text file.
In the lower area of the attribute management window you can see by the colour of the pen symbol which function is currently active.
appears. You can now create user-defined attributes and save them with OK.  will be shown. Confirm your changes with OK.
  . The marked entry will be removed after confirming with OK.
When defining attributes, you have also the option to create so-called "List attributes". For this to happen, you need to activate the option Predefined or Free when you create a new attribute.

Beneath Selection list, choose the Suggestion option to create a selection list with fixed values (multiple selections also possible). Choose Predefined if you want to have the option to enter your own values into a list.
Click the List init values button if you want to have the option to assign predefined values from other lists to list attributes. On the left hand side of the dialogue window, select a list at the top and an attribute beneath it. Then, select another list attribute on the right hand side and click on the attribute value(s) with which the active attribute is to be initialized.

The Attribute Editor • General Information on HELiOS
|
© Copyright 1994-2018, ISD Software und Systeme GmbH |